Wednesday, 22 July 2015

Nailbox June 2015*

Hey All

Beauty boxes are a saturated market now but I still love the odd one. There is starting to be a change in the market with more variety from health snack boxes to specific boxes. Nailbox is a subscription service that offers flexible subscriptions. You can order one off boxes for £15 or pay for 3,6 and 12 month subscriptions which saves some money.

L and I are both big nail fans and love painting our nails so a nail specific box was going to be something we loved. Each box contains 3-4 polishes and a nail tool or treatment. I do like that it's not just all polish.

Untitled

Untitled

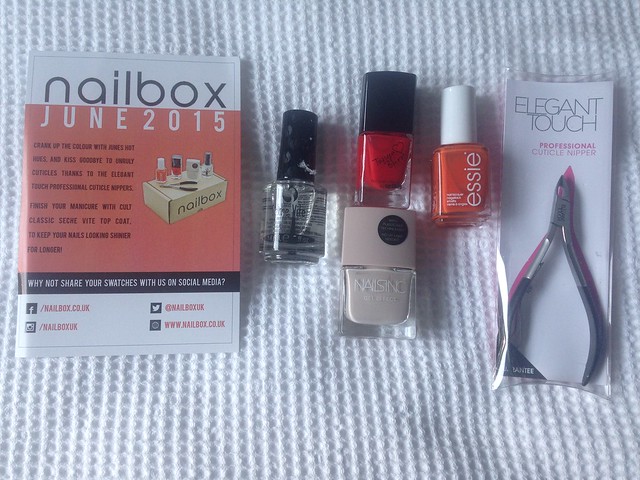
We were kindly sent the June box to try out and review. As I've got a ridicuoulsy large nail collection atm and I'm trying to grow my nails and not paint them too much L tested out all the colours. I couldn't resist snapping up the seche vite (£9) though as it's my favourite top coat. Nothing beats it in my opinion. You can reads my original review here.

Untitled

Untitled

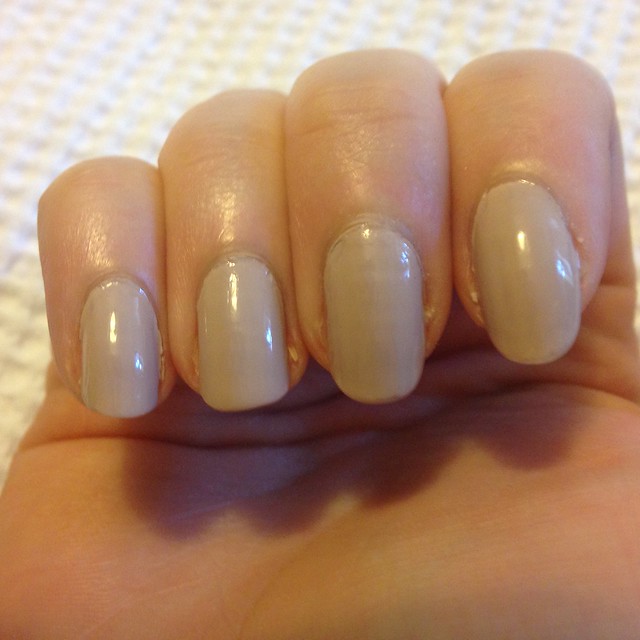
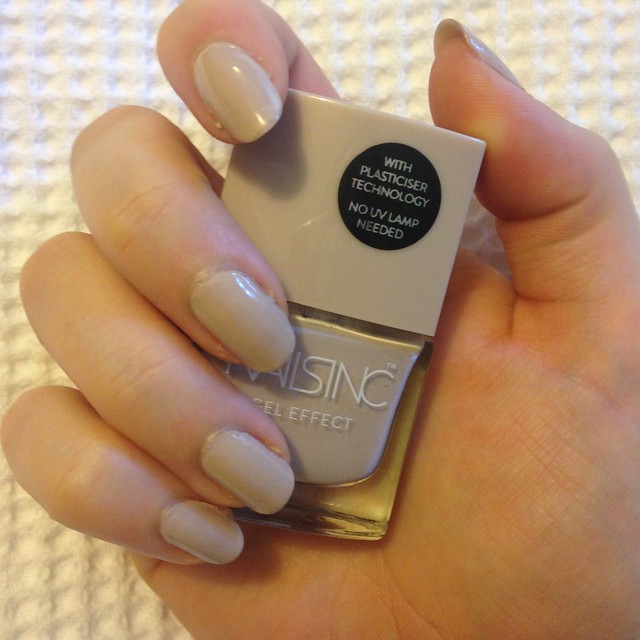
The thing that immediately stood out to us in the box were the great brand names and the wearable colours. The Nails Inc Gel Polish in Colville Mews L put on straight away as she had a wedding to go to. Nude nails go with everything and leave a look polished and classy. L loved how smoothly it applied and the gel effect left a great glossy finish. This nail polish alone is worth the price of the box as it retails for £15.

Untitled

Untitled

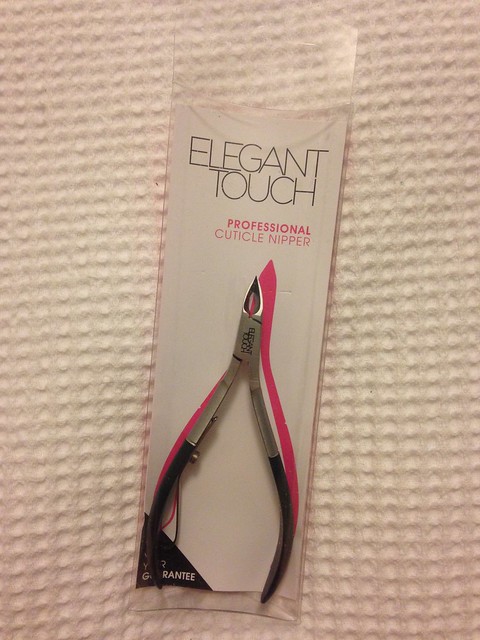
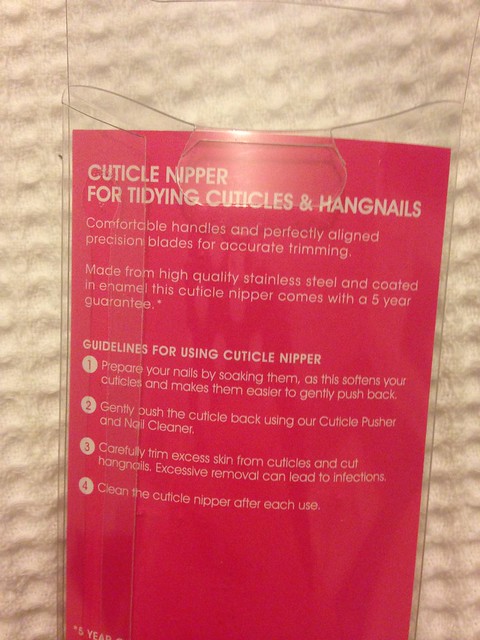
The elegant touch cuticle nipper is worth £12.50. I think cuticles are usually something people neglect to clip. I find my cuticles need clipping every few weeks. Tools like this make it so much easier. I can't get on with scissors but this is sharp and allows precision without cutting more than is needed.
Untitled

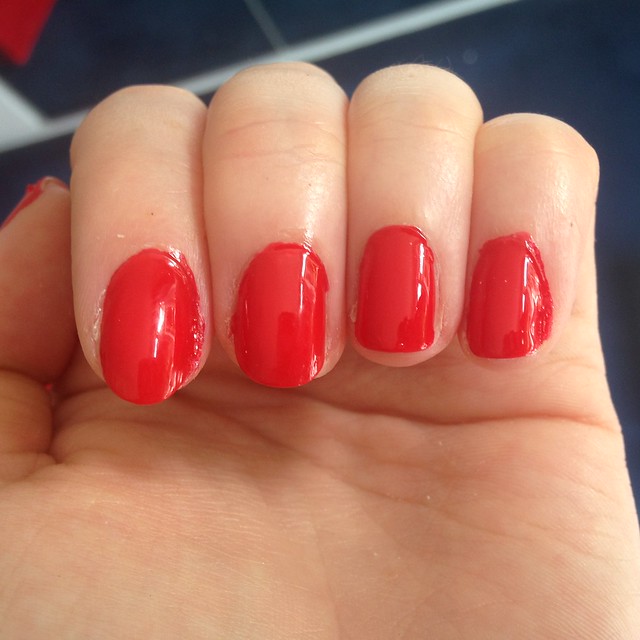
The second colour L tested out was the Tanya Burr Polish in Mischief Managed £5.99. We'd both heard a lot about these but this was one L didn't get on with. It wasn't the easiest to apply, had a thin formulation and took too long to dry. 

Untitled


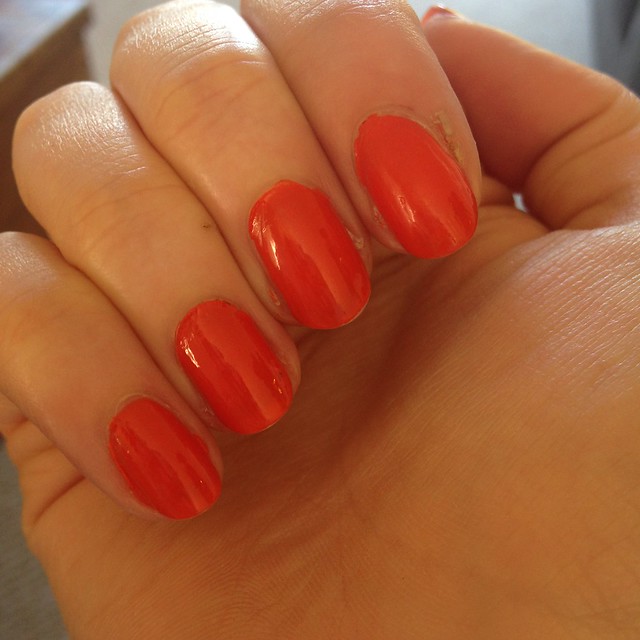
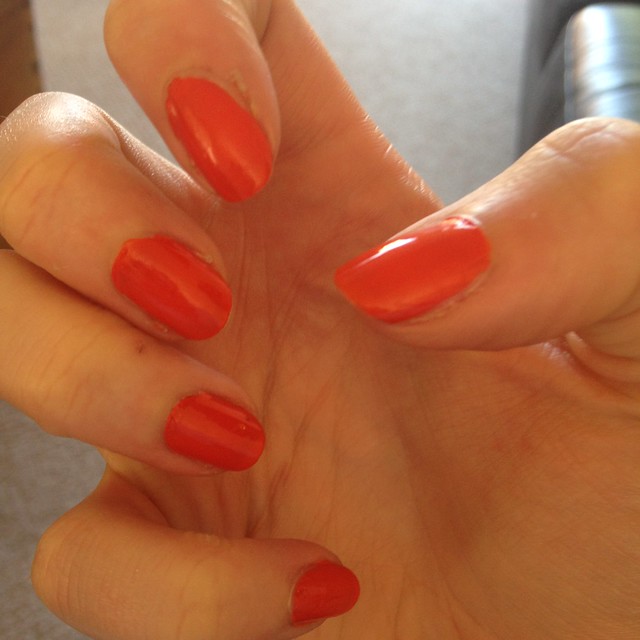
The final colour was Essie Roarrrrange £7.99. Essie is a brand we both love and you'll find lots of NOTDs of. They have a great colour range, great formula and a reasonable price. Roarrrange didn't disapoint with that. It's a perfect summer colour and one L will be getting lots of use from!

Overall we are both really impressed with this box. It's great value (worth over £50)  and comes with good brand names. Previous boxes have included china glaze (another favourite brand of L and I) and opi!

What's your thoughts on a nail only subscription box? I'll be treating myself to more of these! I do love that from what I've seen the colours in the boxes also reflect the season not just a random selection. It really feels like thought goes into the box. 

Love L and M

xxx


SHARE:

Thursday, 31 October 2013

Halloween Nails


Hi guys!
Me and M are both so busy this year that there will be no Halloween parties for us....so we've decided instead to do a nail post inspired but some halloween essentials. Here's my design!

First off I used a No7 Stay Perfect nail polish in a black glittery colour (the name escapes me now sorry!):

Untitled

Then I used the infamous Max Factor's Fantasy Fire to add in an extra colour and make a swirly mystical background:

Untitled

Untitled

Lastly to add in an extra bit of 'magic' I used Nails Inc's Sloane Square to complete my base:

Untitled

After this it was time for some nail art with Model's Own pens in black, white and silver:

Untitled

From left to right I drew a ghost, spider and web, pumpkin face and bats above a graveyard.

Untitled

I couldn't leave my thumb out of the picture so I drew a skull and crossbones, which I think was my favourite!

Untitled


These were quite simple to do and I really enjoyed dabbling in some nail art again as it has been a while!

Hope you enjoyed this mini tutorial, send me some links to your Halloween nails too, I love seeing new designs!

L xxx


I've seen so many cute halloween faces on various nail art sites I decided I was going to do my own version of them. I used a variety of different polishes. I wish I'd had a more neon green and better orange for these so they stood out more.

Untitled

For the fine detail on them I either used my Models Own nail art pens in black and white or my Avon Nail Art tool. (which I'd highly recommend getting if you like doing you nails, it has a ball tool on one end and a detail brush on the other)

Untitled

My pumpkin was probably the simplest to do and my least favourite. I should have done a ghost. I struggled with the detail on my bride of Frankenstein. I couldn't get the lip detail well enough. Next time I'd just do red lips. I really like Dracula. He was super easy to do and requires few colours. I couldn't have bride of Frankenstein without Frankenstein himself. This was done using models own nail art pens. These made the nail art simple. My favourite of all is my little purple witch. I really think this one is cute. I used my nail art tool to do the hair and eye brows aswell as the gold on the hat and the models own nail art pen for the rest.

Untitled

I was overall pleased with how they came out. I think they'd be cute as a feature nail with the rest plain if you were going as one of the characters or if you are just feeling halloweeny (sure I just made up that word) over both hands.

Have you done halloween themed nails?

Love M

xxx


SHARE:

Friday, 22 March 2013

Nails Inc: The Edit


Christmas seems like yesterday right?

I was just thinking about it the other day and couldn't believe it when I realised it was a whole 3 months ago.

It's my favourite time of year and it definitely went by in a flash, can't we have it again in July??

One of my Christmas presents was this really cute nail polish set from Nails Inc.


As you can see it's called 'The Edit' and I absolutely love the colours they've chosen.

Even though this was brought out in time for Christmas the colours can be worn all year round and I'm such a big fan!


There are five polishes in total, the names of which are shown below on the back of the box with a description next to them.

I'd had my eye on Porchester Square for a while as lots of people had raved over the colour and formula and also that the tone of it seemed to suit everyone's skin tone making it one of the perfect nudes! I couldn't wait to try this one out.

Also present was a holographic polish which was interesting to me as I'd never owned one of these nore seen any anywhere else so this was also one I wanted to try over the party season.


Tate and Richmond Terrace are both beautiful classic reds that are a must in anyone collection and I really think you can never have enough! (If you look in my collection I'd definitely say I can't...)

Lastly the one I most pleased to receive was Notting Hill Gate. I'd owned Shoreditch from Nails Inc for a few years and used it until it died a very dry death and nothing would come out of the bottle any longer.
I've since been aiming to get a replacement and this one is similar enough for my tastes. 
I absolutely love bright pinks as they're perfect for most occasions and go perfectly with my skin tone for fingers and toes.


As the nude and the pink were ones I was most excited about....here's my latest NOTD with both colours, what do you think??

044

046

My nails are a little battered as this was after work so my hands are cuts and the nails a tiny bit chipped but nevertheless you can see the idea!

040

Me and M both love an accent nail and i love to keep it simple with nudes and then a flash of neon colour.

Out of this set I would 100% buy these two colours again as they both fill gaps in my collection and I can see myself using them a lot.
In fact my toes are painted with the pink right now!
I don't see this small bottle lasting me very long...

043

Here's a picture of all the colours painted onto nails:

Untitled

Untitled

How gorgeous are they??

I love trying out new colours and think miniature kits like this are brilliant to try them out and also to have if you need to do your nails on the go. Taking smaller bottles with you is so much easier to change your manicure in a rush than lugging your whole collection!

Unfortunately the set seems to have been a Christmas exclusive as it is sold out everywhere I've looked. But you can pick up each shade individually and I'd recommend them all.

What other sets have you tried? What's your favourite Nails Inc colour?

Black Taxi is a personal favourite but Notting Hill Gate and Porchester Square might come in close. It's so hard to choose, so I generally just buy them all!


L xxx


SHARE:

Friday, 14 December 2012

A/W NOTD: Nails Inc's Heddon Street

This is the final post in my A/W NOTD!

This week's is Nails Inc's Heddon Street and as you can see it is absolutely flipping amazing.


I love colours like these and love having them on short or long nails.
Look how luxurious the colour looks!

It's perfect for day time in work or at the weekend, and would be great for taking you from day to night if you have a Christmas party to go to.


I love how shiny it looks with a top coat and the metallic particles really do shimmer in the light.

Nails Inc

Nails Inc

I applied 2 coats of this as normal with a base and top coat and this lasted me a good 4 days.

Nails Inc

Nails Inc


You can see the bottle doesn't strictly look like the colour that it actually comes out as, which is sometimes misleading as I looked at this colour in my collection and wondered what on earth it was.

However it was a lovely surprise for it to come out looking as great as it did and it will be featuring on my nails a whole lot more now.

What do you think of this colour? I think it would suit so many skin tones.

Have you liked the other colours I've used in my A/W NOTD series? Which was your favourite?


L xxx
SHARE:

Friday, 30 November 2012

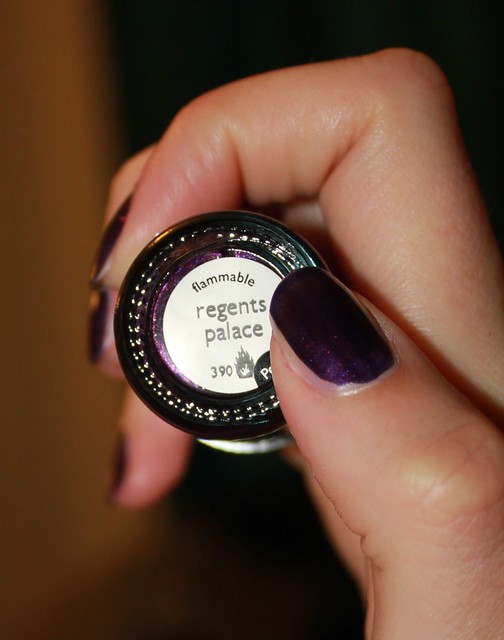
A/W NOTD: Nails Inc's Regents Palace

Another nail post in my A/W series!

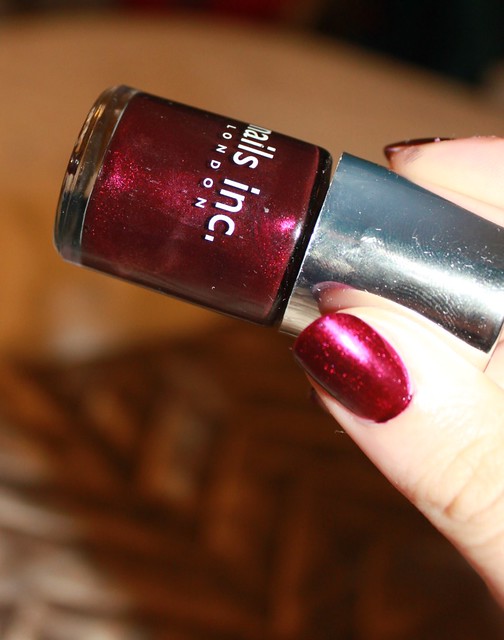
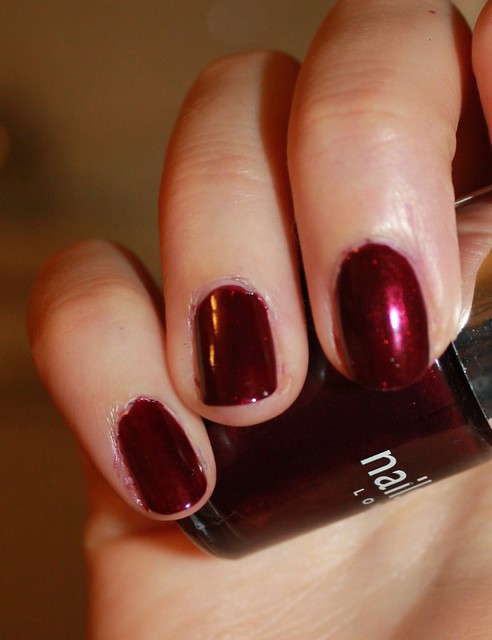
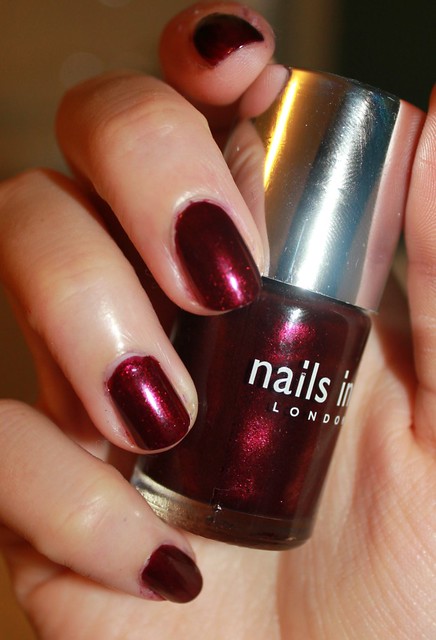
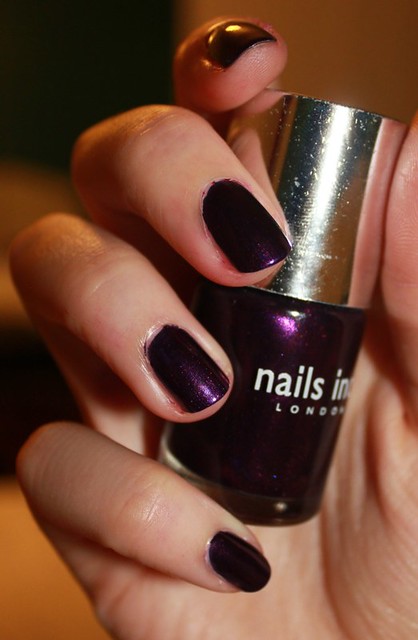
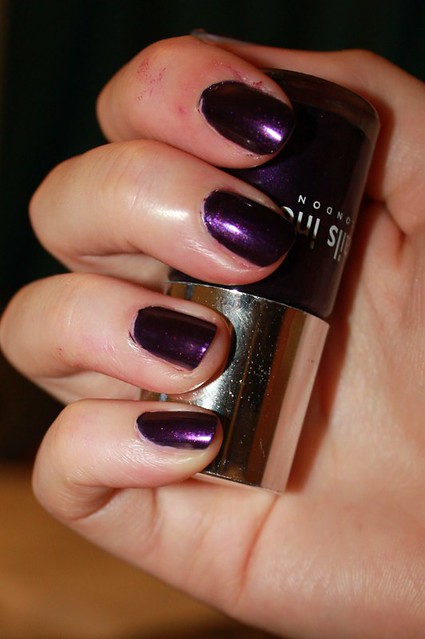
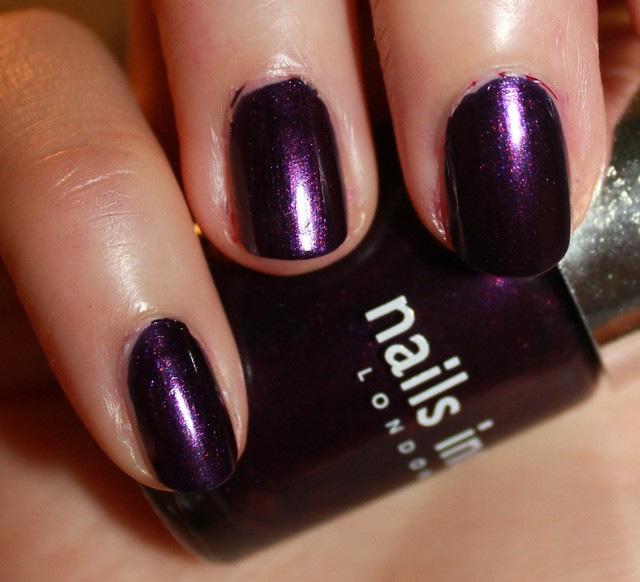
This week's is a GORGEOUS shimmery metallic purple which whenever I use am surprised why I don't use it more often.


Regent's Palace is beautiful in every light and perfect for the party season.
It looks amazing whether you're wearing it to work or out in the evenings, therefore making it perfect for day to night events!

Nails Inc

I personally love the red/blue/purple shimmer running through this and it applies really easily with 2 coats.

Couldn't help myself but take looooooooooooooooooads of pictures, it really does look a treat in the light.

Nails Inc

Nails Inc

Nails Inc


What do you think of Regent's Palace? Do you have a similar purple in your collection?

Also, did you pick up Motcomb Street after it was free in Glamour magazine?! Love it as much as me??


L xxx

SHARE:

Friday, 9 November 2012

A/W NOTD: Nails Inc's Chester Square

Another of my AW nails!

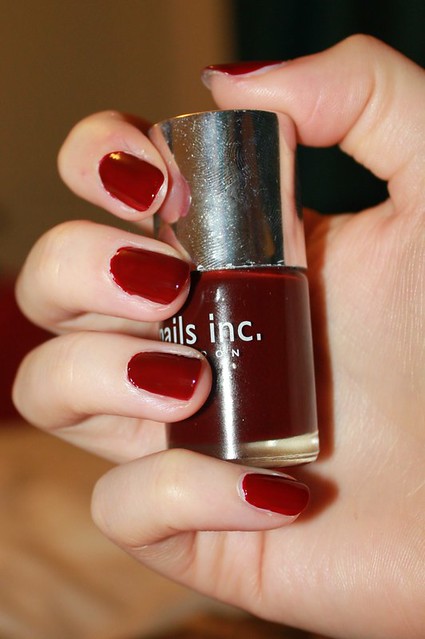
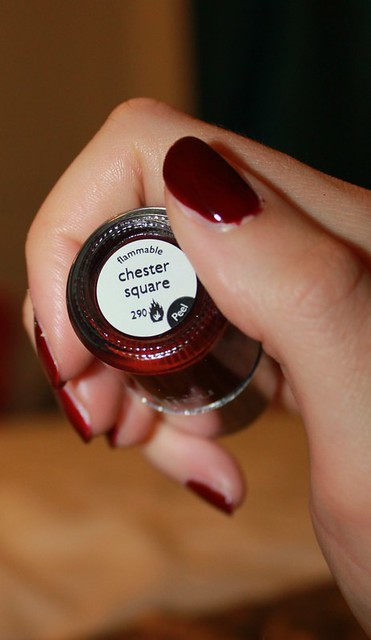
This time it is Chester Square, a beautiful red brown colour.


This applies in 2 coats and gives a really glossy sheen, much like the other's I've previously posted about in this series.

I do love a glossy nail!

Nails Inc

Nails Inc

This kind of colour is great for day wear and night wear whatever you're doing as it's such a classic.
I find that it chips after around 3 days, but I'm one of those people that always forgets to reapply a top coat after the first time so maybe you could prolong it more!

What do you think of this colour? Is it one you'd wear?

I do love AW colours on nails!


L xxx
SHARE:

Monday, 29 October 2012

NOTD: Halloween Theme!


Aaaaah Halloween week! 

We love a theme and what better than scary spooky Halloween?!

We went a little nail crazy with ideas and decided to put them all on one post so you can see for yourself and hopefully get some different ideas!

First up is a galaxy nail style design:


I used the following polishes:

Halloween Nails

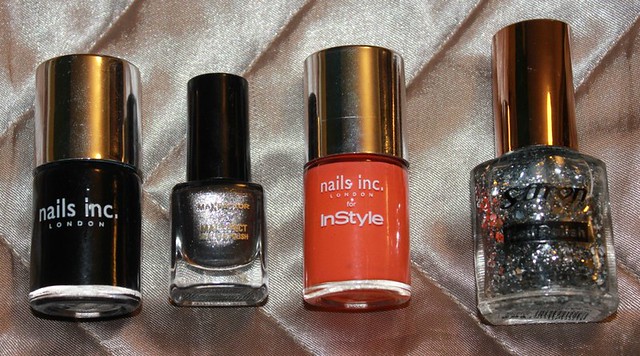
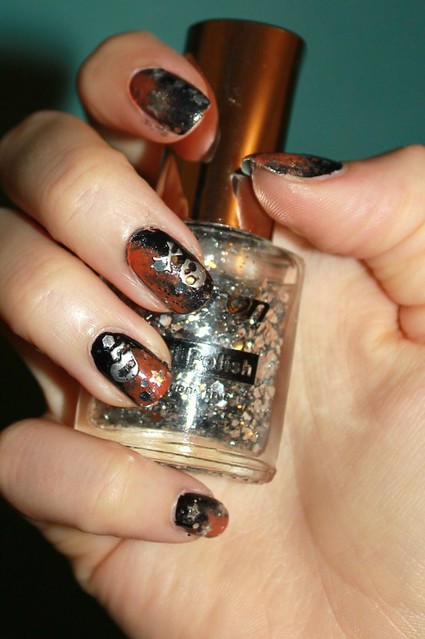
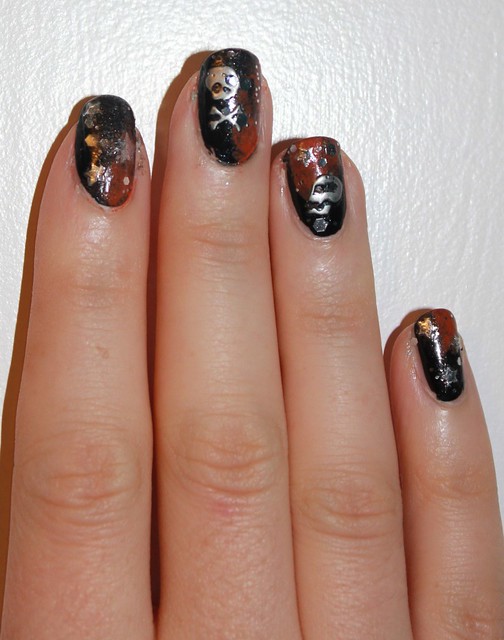
Nails Inc Black Taxi was the base coat, with the Max Factor Silver and Nails Inc orange from in Style sponged on top in galaxy style. I then added some stickers from the picture below (Andrea Fullerton at Superdrug) and then the Saffron glitter on top.

Halloween Nails

Barry M Halloween

It was a nice relatively easy style to do and a little different!

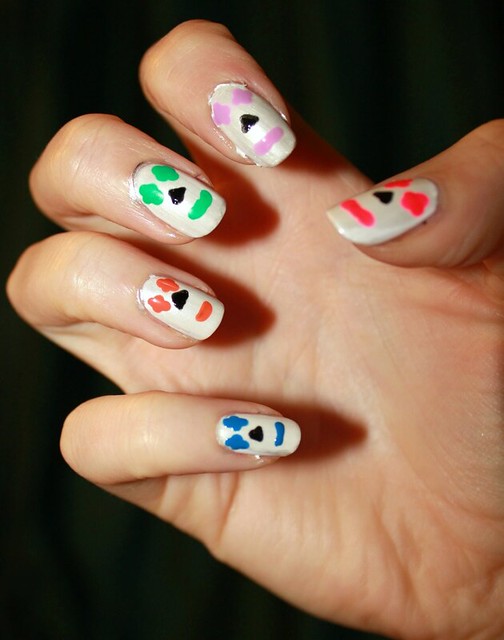
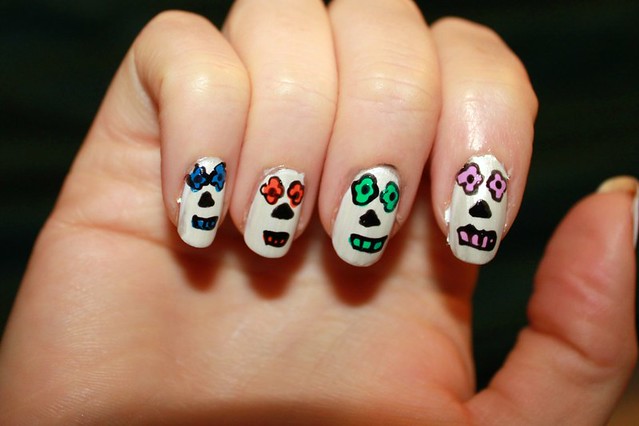
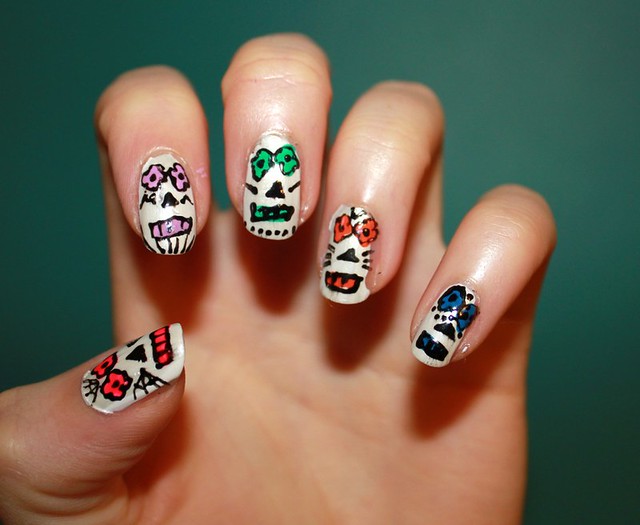
Next up I attempted to do my own spin on the Sugar Skull nails which was SO MUCH fun:

Skull Candy Nails

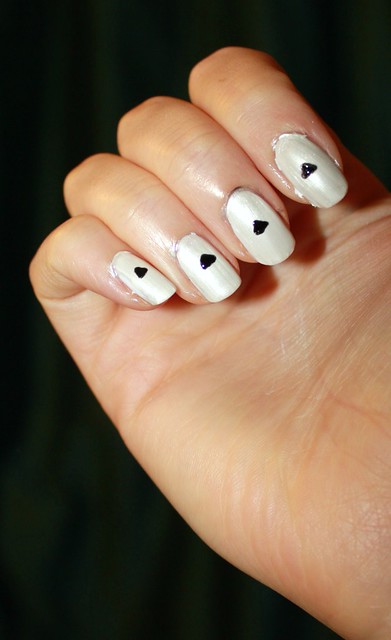
I started off with a white base coat which looked a bit flat so added on a shimmery white polish on top.
Then I used Models Own black nail pen to draw on triangles for the nose so I could keep the whole face as central as possible:

Skull Candy Nails

After this I used my dotting tools using the largest dot and applied the eyes and mouth using this.
I used 5 different bright colours on each hand, using 4 big dots to create the eyes followed by a line (of sorts!) for the mouth, as shown below:

Skull Candy Nails

Then I used the pen again to outline the eyes and putting a dot in the middle, and also lining the mouths and creating some teeth.
To make my own little spin on this I then added in a few dots, lines, squiggles etc so mine ended up looking a bit tribal!
I loved this design and it was definitely my favourite.
I had so many compliments, even from men serving me on tills in Superdrug and Tesco!
How random.

Skull Candy Nails

Skull Candy Nails

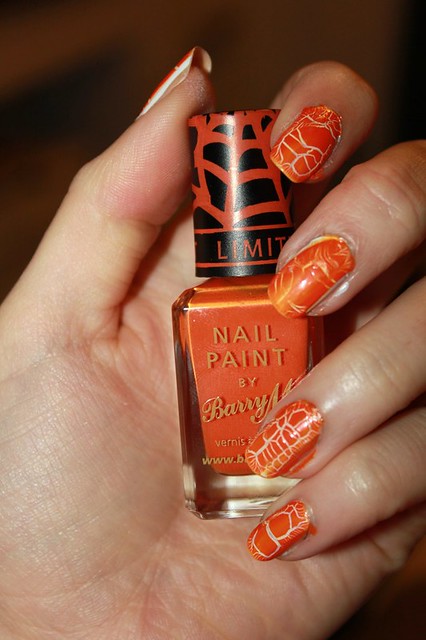
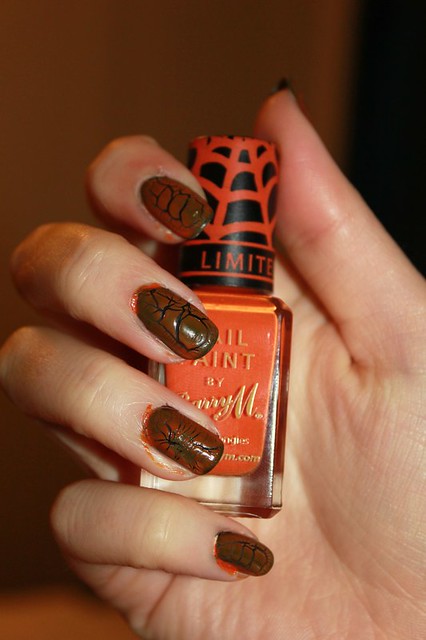
The last of my designs features a somewhat gimmicky polish from Barry M.
I've been using black and white a lot lately so picked up these colours from Barry M in Superdrug, and currently their promo is when you buy 2 products you get their limited edition orange 'web effect' polish for free.
I would never have bought this but as its a freebie the blogger in me wanted to give it a go:

Barry M Halloween

Barry M Halloween

As you can see it is different to a crackle effect, but not really producing a web effect!

The white does look pretty effective but the polish isn't opaque enough to cover the black polish sufficiently enough for you to see it, so this was a bit of a let down in my view and i was glad it was free!

Hope you like my designs!
Which one do you prefer?

L xxx

Today's post is a little late going up! I'm currently mourning the loss of the Ciate Advent Calender that was never meant to be I guess. No nail varnish everyday of December for me!

Anyway onto my Halloween nails. L's sugar skulls are my favourite. I was so impressed when she sent me photos of hers! I decided to have a go at a spooky castle type of nail art. Please ignore my grown out acrylics. They have been removed tonight!

I started off with two coats of Max Factor Max colour effect in shade cloudy blue (which isn't a cloudy blue shade at all) to creat a dark night sky. It reminds me of OPI Russian Navy. I really like the formulation of this polish and one coat was opaque but I did two for good measure.

On top of that I applied my new Sally Hansen polish I picked up in American in the shade glass slipper. I love the colour of this and the way it looks on the nail. It gave it a really starry night effect and you get so much glitter in one coat.


Partially as I wanted to try another new colour (OPI Altar Ego) and because I wanted it to look a little more foggy and spooky I applied a thin coat of Altar Ego which is a pearly white shade. I'll be interested to see what this looks like on a bare nail.


I really liked the effect and colour the combination of these three gave on the nail and I can't wait to use Altar Ego and Glass Slipper over different shades to see what they look like.

Once my nails were dry I used my Models Own nail art pen in black to drew the castle outlines.


I filled them in using the nail art pen too. I really need to invest in a good black nail varnish. I'm regretting not picking up OPI Black Onyx. What's your best black polish?


I then used OPI You Don't Know Jacques to draw a thumb on my nail and OPI My Pointe Exactly to create windows and my white Models Own Nail Art pen to Add a moon. 


Then using my Models Own Nail art pens I added details to the door, a cat and a ghost in the windows and some birds in the sky and on the moon. I like to think of them as Ravens.


and a close up of the thumb.


I wish they'd turned out a bit neater. I need to steady my hand more but overall I quite like them.

Have you tried Halloween Nail art?

Love M

xxx


SHARE:
© The CSI Girls. All rights reserved.
Blogger Designs by pipdig