Monday 29 October 2012

NOTD: Halloween Theme!


Aaaaah Halloween week! 

We love a theme and what better than scary spooky Halloween?!

We went a little nail crazy with ideas and decided to put them all on one post so you can see for yourself and hopefully get some different ideas!

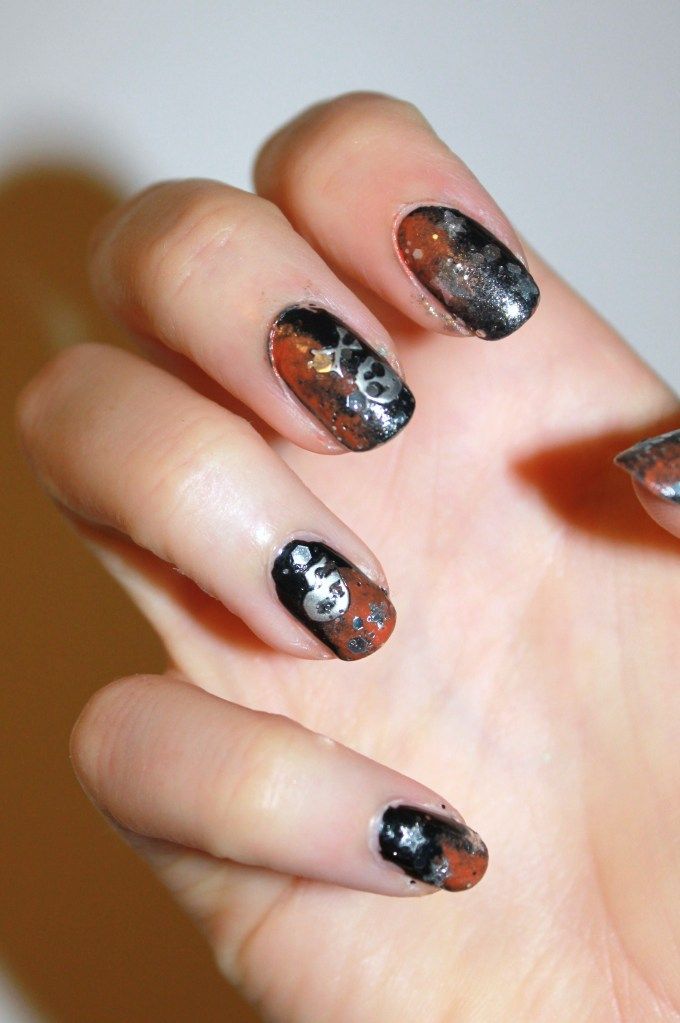
First up is a galaxy nail style design:


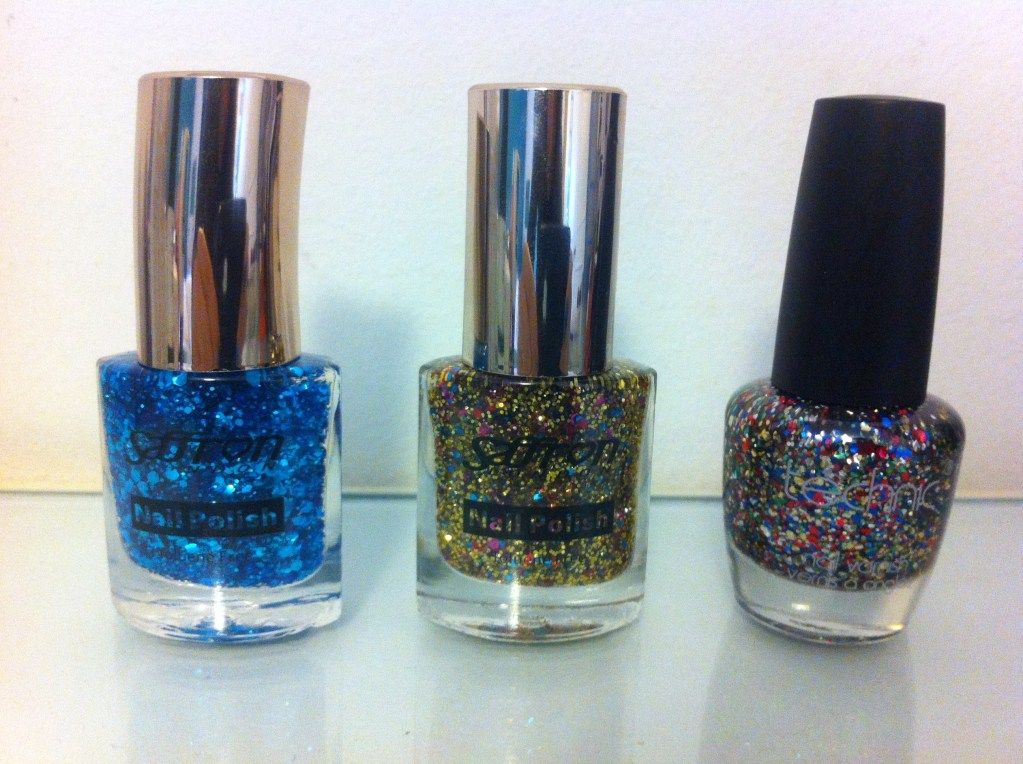
I used the following polishes:

Halloween Nails

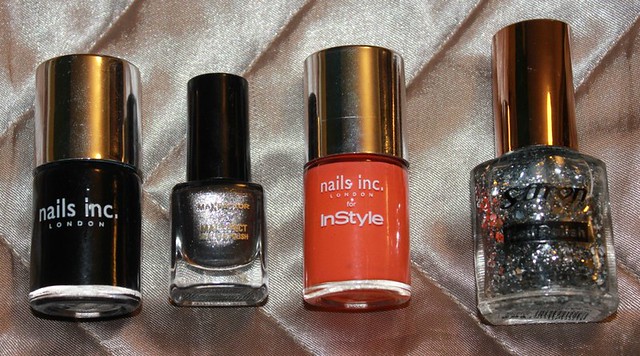
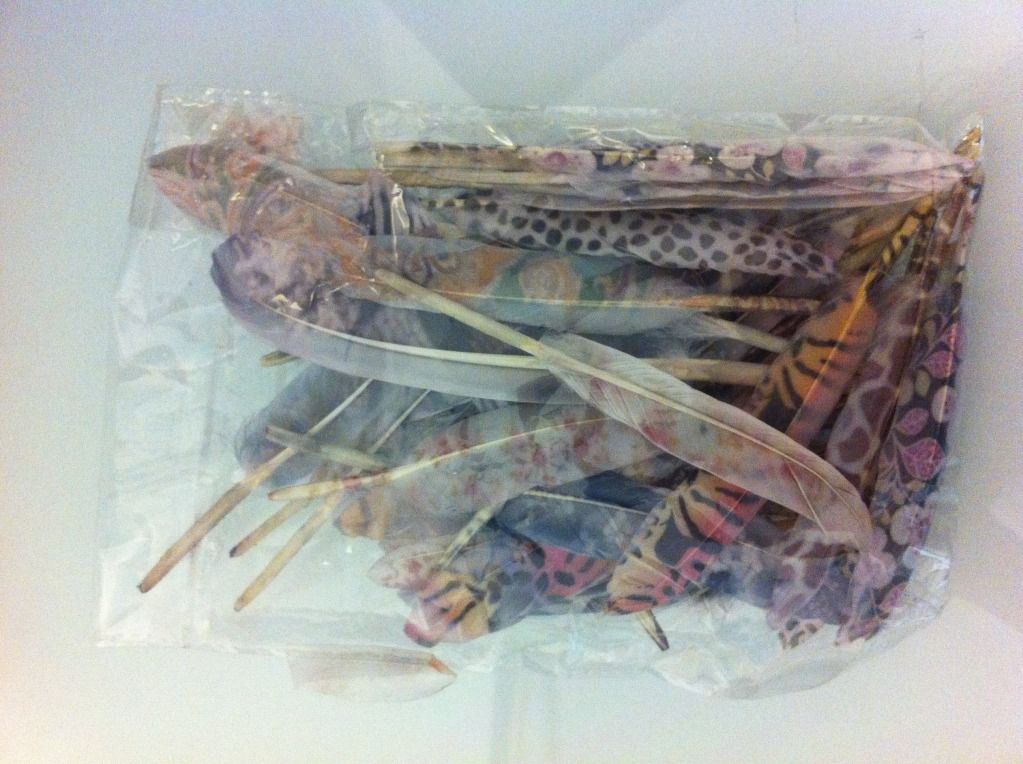
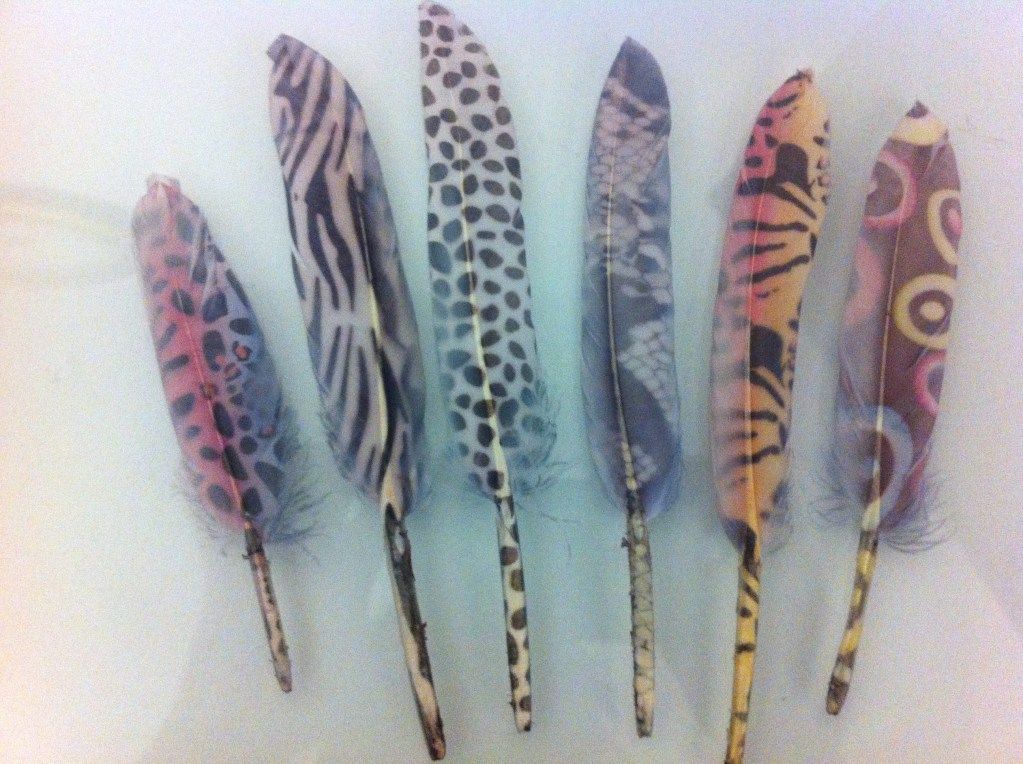
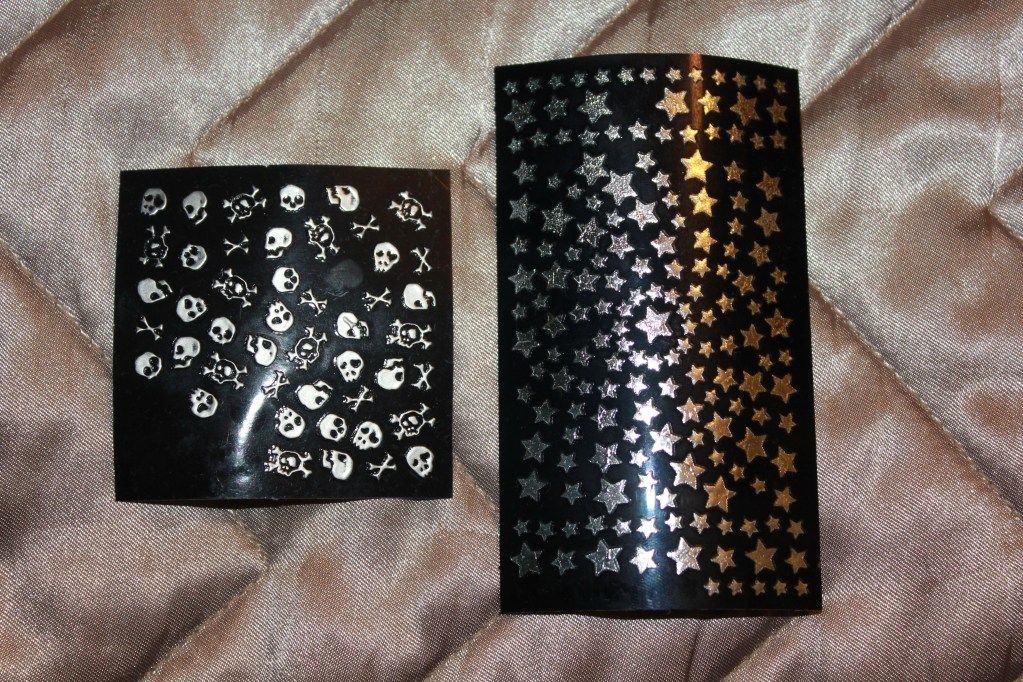
Nails Inc Black Taxi was the base coat, with the Max Factor Silver and Nails Inc orange from in Style sponged on top in galaxy style. I then added some stickers from the picture below (Andrea Fullerton at Superdrug) and then the Saffron glitter on top.

Halloween Nails

Barry M Halloween

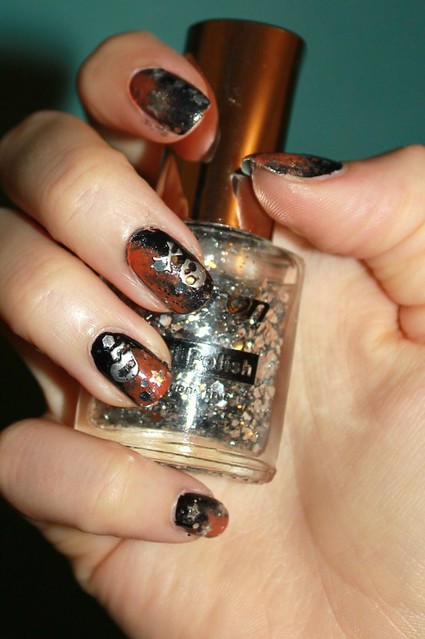
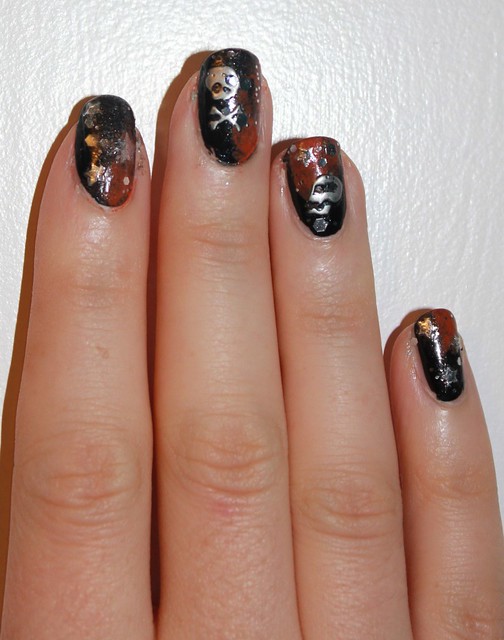
It was a nice relatively easy style to do and a little different!

Next up I attempted to do my own spin on the Sugar Skull nails which was SO MUCH fun:

Skull Candy Nails

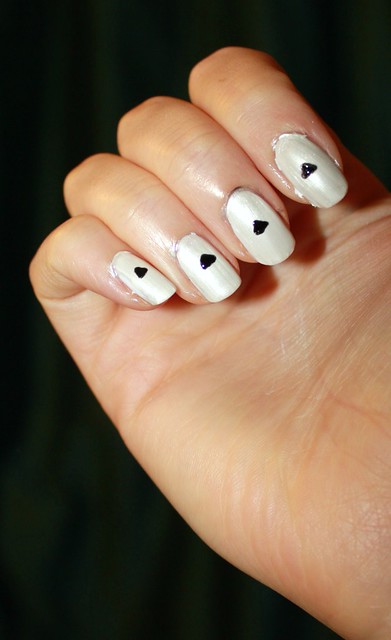
I started off with a white base coat which looked a bit flat so added on a shimmery white polish on top.
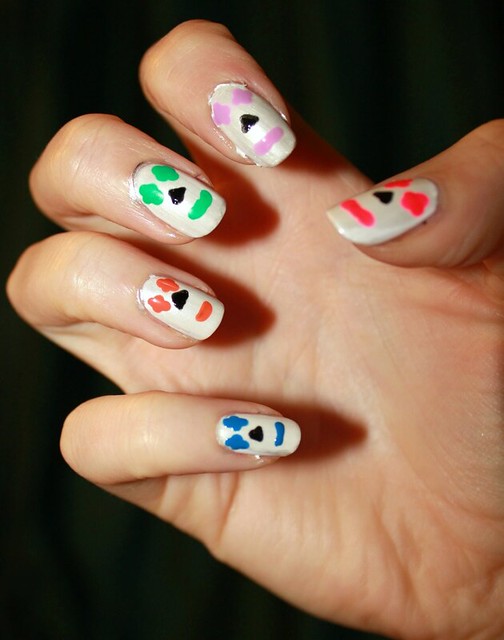
Then I used Models Own black nail pen to draw on triangles for the nose so I could keep the whole face as central as possible:

Skull Candy Nails

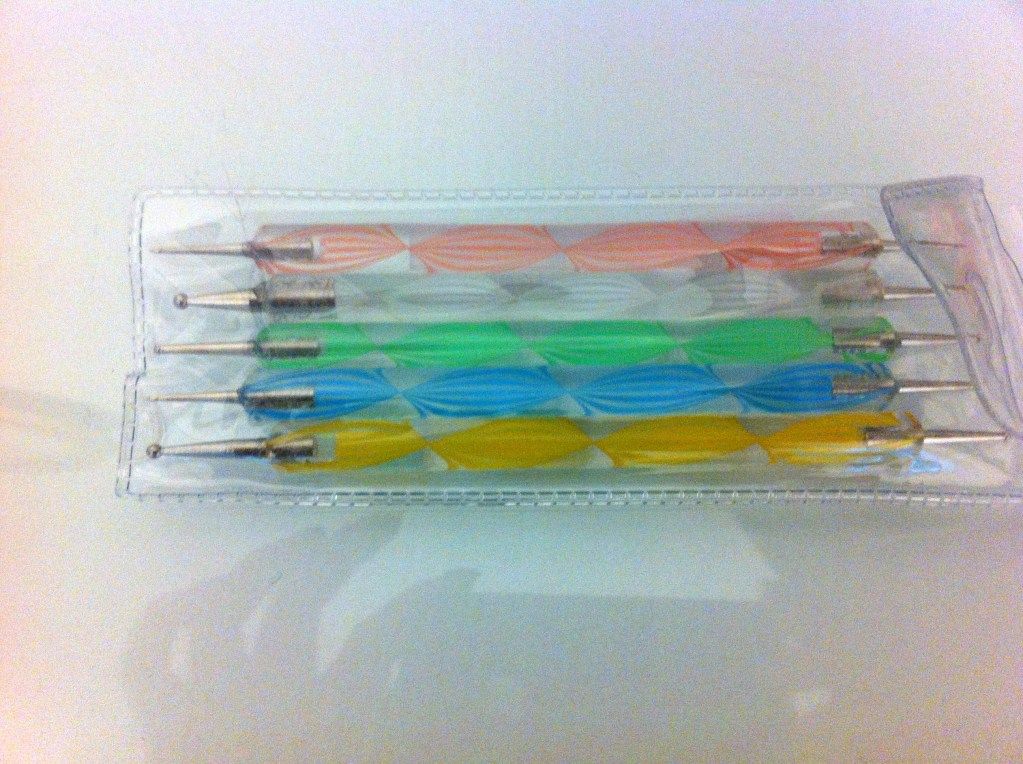
After this I used my dotting tools using the largest dot and applied the eyes and mouth using this.
I used 5 different bright colours on each hand, using 4 big dots to create the eyes followed by a line (of sorts!) for the mouth, as shown below:

Skull Candy Nails

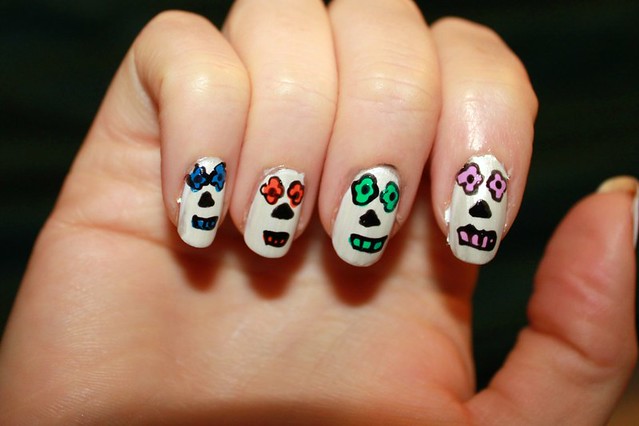
Then I used the pen again to outline the eyes and putting a dot in the middle, and also lining the mouths and creating some teeth.
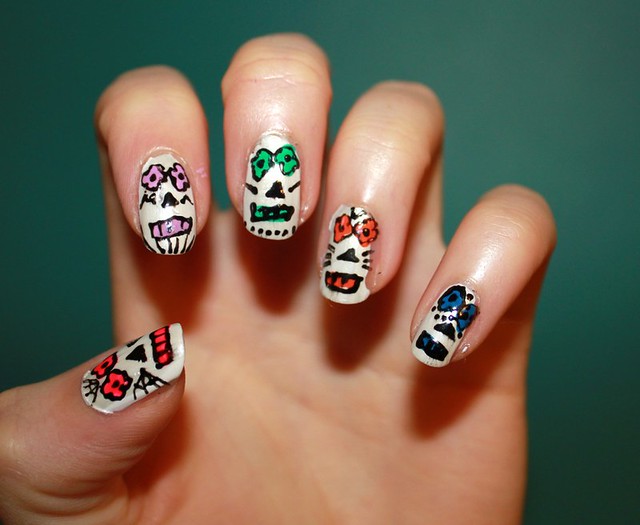
To make my own little spin on this I then added in a few dots, lines, squiggles etc so mine ended up looking a bit tribal!
I loved this design and it was definitely my favourite.
I had so many compliments, even from men serving me on tills in Superdrug and Tesco!
How random.

Skull Candy Nails

Skull Candy Nails

The last of my designs features a somewhat gimmicky polish from Barry M.
I've been using black and white a lot lately so picked up these colours from Barry M in Superdrug, and currently their promo is when you buy 2 products you get their limited edition orange 'web effect' polish for free.
I would never have bought this but as its a freebie the blogger in me wanted to give it a go:

Barry M Halloween

Barry M Halloween

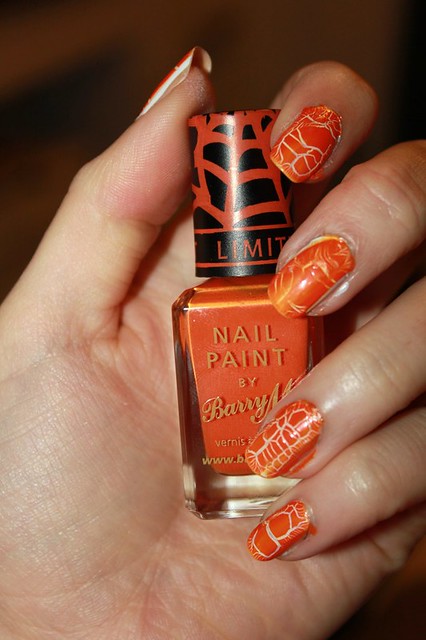
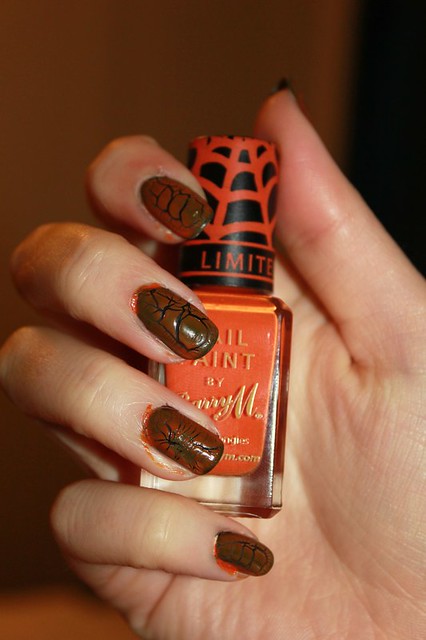
As you can see it is different to a crackle effect, but not really producing a web effect!

The white does look pretty effective but the polish isn't opaque enough to cover the black polish sufficiently enough for you to see it, so this was a bit of a let down in my view and i was glad it was free!

Hope you like my designs!
Which one do you prefer?

L xxx

Today's post is a little late going up! I'm currently mourning the loss of the Ciate Advent Calender that was never meant to be I guess. No nail varnish everyday of December for me!

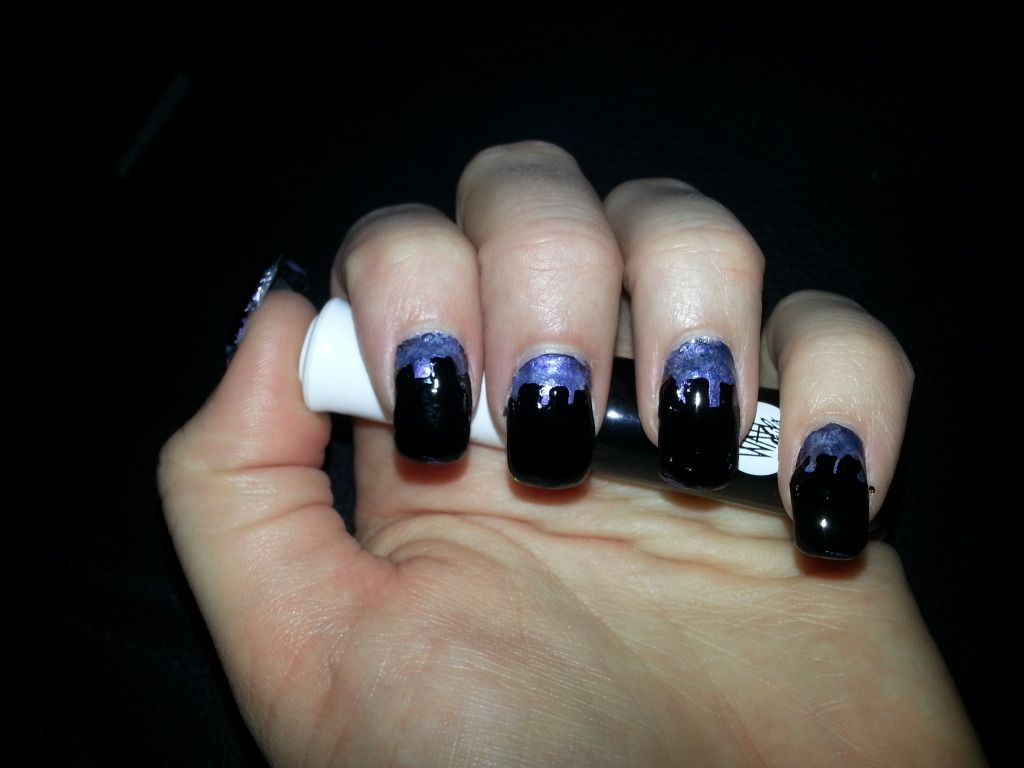
Anyway onto my Halloween nails. L's sugar skulls are my favourite. I was so impressed when she sent me photos of hers! I decided to have a go at a spooky castle type of nail art. Please ignore my grown out acrylics. They have been removed tonight!

I started off with two coats of Max Factor Max colour effect in shade cloudy blue (which isn't a cloudy blue shade at all) to creat a dark night sky. It reminds me of OPI Russian Navy. I really like the formulation of this polish and one coat was opaque but I did two for good measure.

On top of that I applied my new Sally Hansen polish I picked up in American in the shade glass slipper. I love the colour of this and the way it looks on the nail. It gave it a really starry night effect and you get so much glitter in one coat.


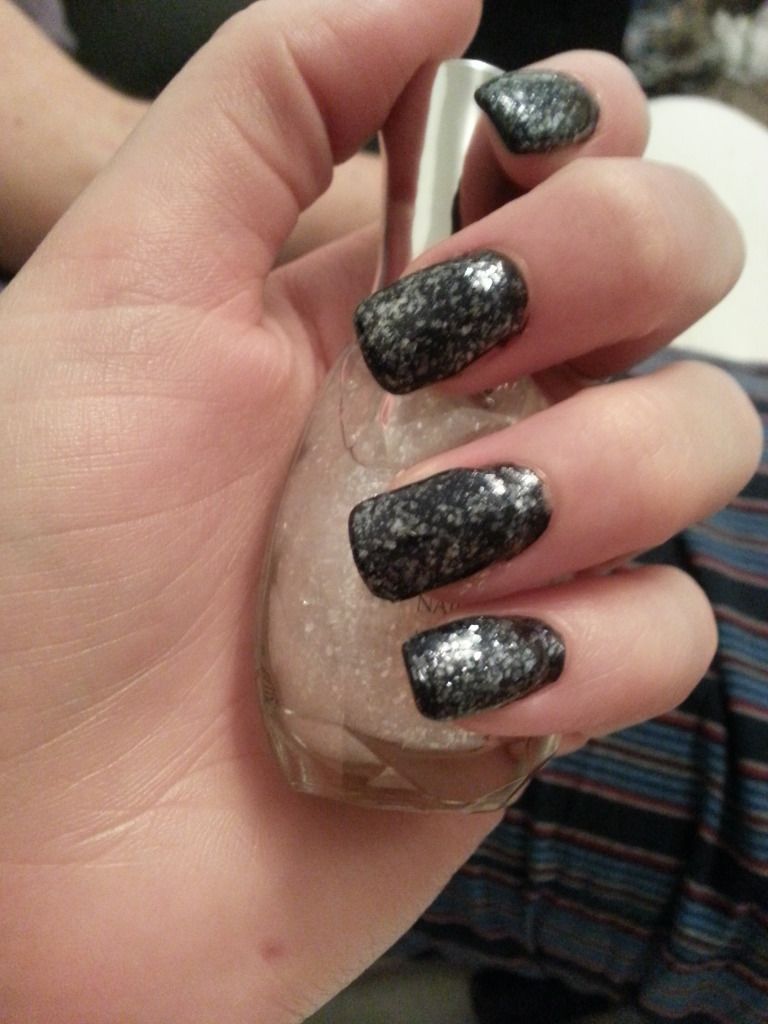
Partially as I wanted to try another new colour (OPI Altar Ego) and because I wanted it to look a little more foggy and spooky I applied a thin coat of Altar Ego which is a pearly white shade. I'll be interested to see what this looks like on a bare nail.


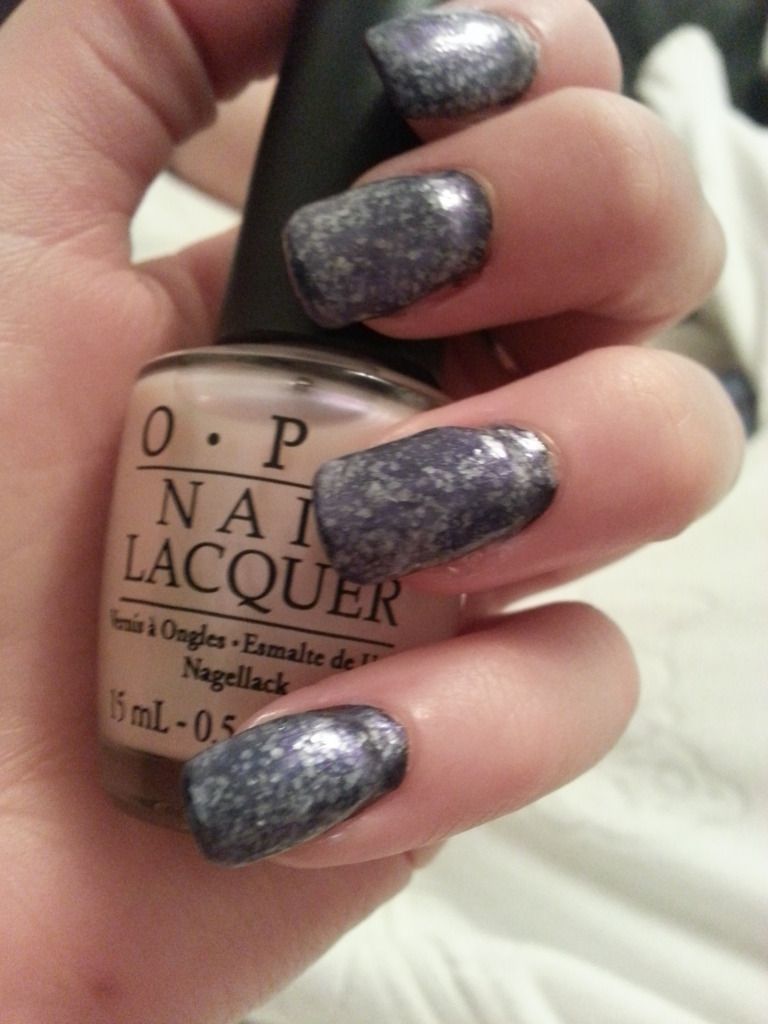
I really liked the effect and colour the combination of these three gave on the nail and I can't wait to use Altar Ego and Glass Slipper over different shades to see what they look like.

Once my nails were dry I used my Models Own nail art pen in black to drew the castle outlines.


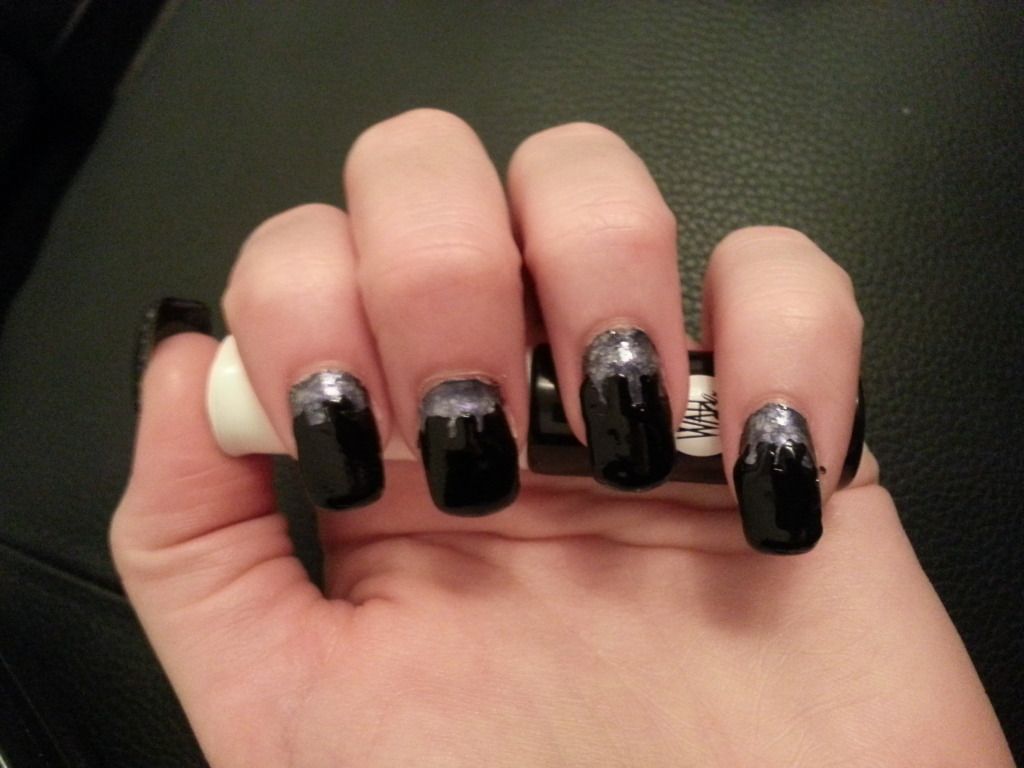
I filled them in using the nail art pen too. I really need to invest in a good black nail varnish. I'm regretting not picking up OPI Black Onyx. What's your best black polish?


I then used OPI You Don't Know Jacques to draw a thumb on my nail and OPI My Pointe Exactly to create windows and my white Models Own Nail Art pen to Add a moon. 


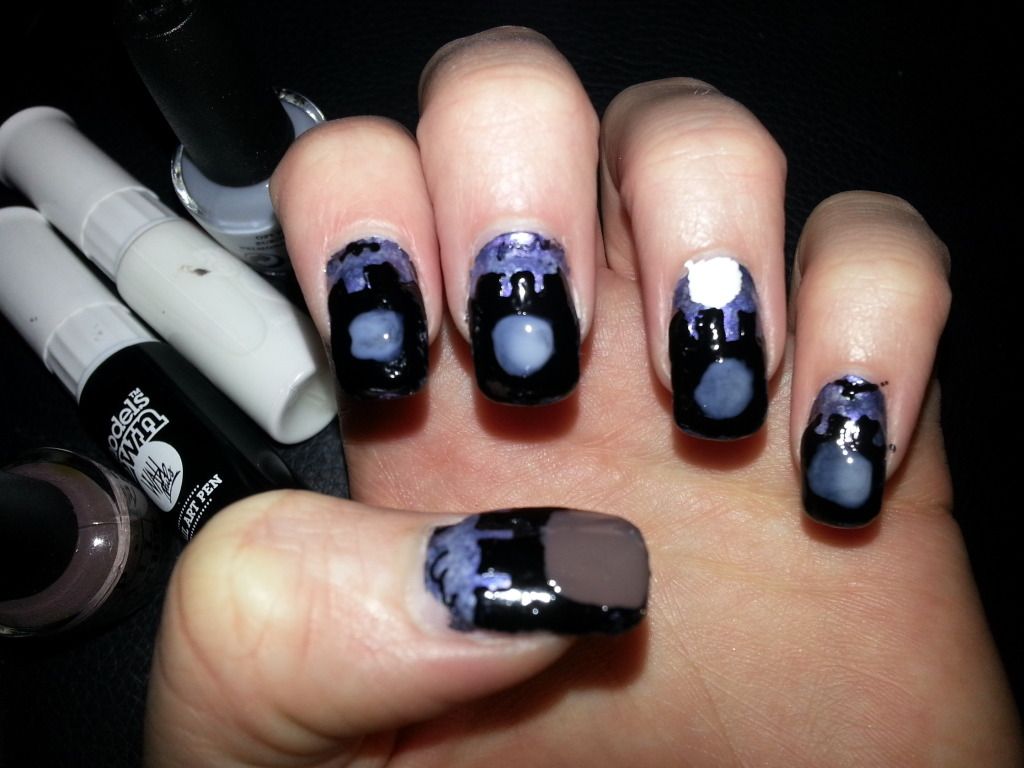
Then using my Models Own Nail art pens I added details to the door, a cat and a ghost in the windows and some birds in the sky and on the moon. I like to think of them as Ravens.


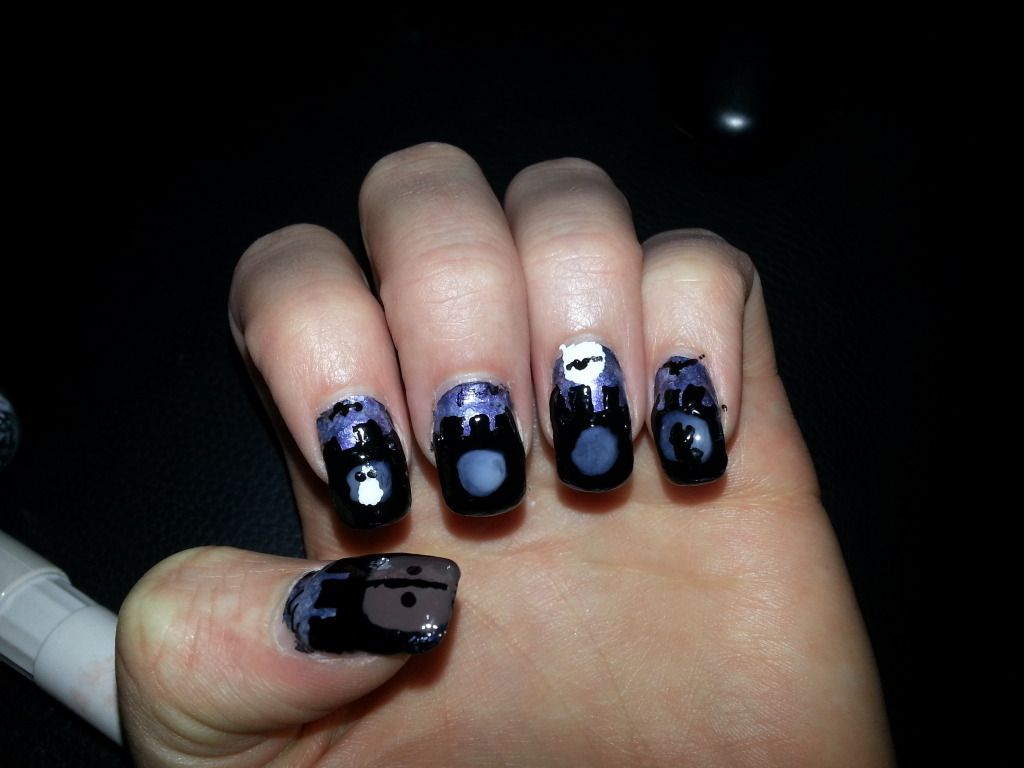
and a close up of the thumb.


I wish they'd turned out a bit neater. I need to steady my hand more but overall I quite like them.

Have you tried Halloween Nail art?

Love M

xxx


SHARE:

Saturday 15 September 2012

Sneaky eBay shopping...

I don't know about you but when you haven't got any money and you know you shouldn't spend the tiny bit you have left, all you can think about is spending it....right?

On top of that my mum knows how little money I have and is therefore watching me like a hawk!


Because of this I have resulted to scouring the internet in my free time. I managed to avoid actual shops as the temptation is far too high, but online I can browse without feeling the fabrics, smelling the lotions and potions and seeing the deals.

That is of course, excluding ebay, whose low prices and bidding excitement gets me every time.


Particularly when I find a good deal on something I want, and THEN finding an even BETTER deal!
Just cannot resist it and the shopaholic inevitably takes over.

Because I'm sure we all know that spending money online just isn't REAL money is it??

Exactly.

Anyhow, enough of my ramblings, here's my random purchases from eBay of the past few weeks.
You can probably see a bit of a theme developing, I hope you enjoy!


Before you think I;m crazy for buying feathers...I've been using them in recent nail designs and they've turned out awesome! Will be posting about them soon.


Whilst I was searching for feathers I came across the ones below and couldn't resist but snap them up for the £1.24 bargain!


Look how beautiful they are!

I was hoping these would also look amazing on my nails too but the dyes seem to react with the nail varnish and run all over the place!
So I will have to do something else with these, if anyone has any ideas??


They're too pretty to hide away.

I also bought some dotting tools in different sizes and cannot wait to use these, I have a normal size one but there are so many designs I wanted to try with smaller and larger dots I couldn't resist the set.


They were £2.59 with postage and are double ended! They're from this seller.


I've also been meaning to get my hands on some nail tape as I've seen some amazing designs with this!
I bought a pack of 12 different colours and finishes from this seller before I realised that actually it didn't include a black or white which was what I wanted most (silly me!) so I ended up buying them separately.

I bought both black and white nail tape from this seller who does a 3 for 2 deal and I also got another colour for free!


The blue glitter polish was from this seller, and the other two were from this seller 
Both were less than £2 each with postage so definitely a bargain!


Lastly I thought I'd buy some nail stickers as they're such an easy way of adding a finishing touch to an otherwise simple nail.
These were £1.49 with postage and you pay for 5 sheets.
I thought I'd increase my chances of getting better sheets by buying two but unfortunately they weren't that great and I had some duplicates which was a little pointless!

There are some nice white flowers and swirls however that will definitely come in handy.
Just the luck of the ebay draw I guess!


What do you think of eBay? Are you a victim of a sneaky purchase on there too?

I love and loathe it.
So many bargains to be had but selling things is a nightmare!


L xxx


(p.s. how ridiculous is my nail art getting?? I've gone from not trying anything to buying it all! Obsessed.)

SHARE:

Friday 14 September 2012

NOTD: Mermaid Gradient Glitter

Triple whammy NOTD post for you today!

I finally got around to experimenting with gradient nails when I got my hands on some sponges.
As my nails seemed to have grown like crazy and for once not flaked away (thanks to Revlon's Post Trauma nail treatment I believe!) I couldn't resist going for it this time so decided to cover 3 trends in one.


Firstly I painted my nails in this gorgeous turquoise colour from Rimmel 60 seconds, have no idea what the name is but its a metallic turquoise that has been available for a while and the colour is a must have!

(I also applied a top coat before this...my latest one is the calcium gel nail hardener from Revlon...dream!)


Then I nabbed one of my new sponges and used Max Factor's Odyssey Blue to sponge onto the ends to create a gradient effect:


Then I covered the design with a Saffron blue glitter which I bought off ebay (you can find plenty if you search for Saffron glitter!)


Which basically created this beeeeeeeautiful blue green shimmery mermaid tail esque design!
(What a mouthful!)


Here it is in different lights so you can get the full effect.
They are a little messy as these were pre clean up (silly me!)

I also used my favourite top coat (Sally Hansen Insta Dry) and so far, a whole week later and it's just starting to show the ends of my nails but still no chipping or cracking which is amazing!


What do you think of my take on mermaid nails?
Link us to your mermaid nails if you've done them as I love seeing variations!!


L xxx

SHARE:
© The CSI Girls. All rights reserved.
Blogger Designs by pipdig