Thursday 28 February 2013

Review: Revlon PhotoReady 3D Volume Mascara


Before Christmas I picked up this Revlon mascara in a 3 for 2 deal as I needed something as my third and free item.

I was needing a mascara at the time and had no idea that Revlon did a PhotoReady one and as I love lots of other things in the range I snapped it up. 

Obviously I picked this up in black as always and looked forward to trying it out.
There was a tester as usual to see the brush but I was pleased to see that the mascara itself was sealed, as I hate the possibility that someone else has touched it and played around with it getting bacteria all over it before I've even seen it!


I love the sleek packaging as always, the black and silver is adopted by many brands but I still think it has it's place.
I like simple and this fits my specifications!


The brush is more of a plastic comb and for me, separates through every lash and brushes them out so they look soft and fluffy as well as longer and with more volume.


This was really easy to use and I didn't needed to leave it for a bit to dry out as it was too wet, which happens often with mascaras.


So here's the results:
(ignore the concealer not rubbed in under my eyes!)


You can clearly see the mascara coats every lash and separates them all.
They felt quite soft and fluffy considering they were coated all over.

They definitely made my lashes look longer and thicker.
I'd love it if this had made my eyelashes curl as it would have been perfect but unfortunately it didn't.

I'd buy this again as part of a 3 for 2 deal that Boots often have on Revlon, but at £10.99 I felt this was a bit steep considering it didn't do anything much more than others at lower prices.

What do you think of this mascara? Have you used any other Revlon mascaras?

I was on my last mascara a few weeks ago and now I've suddenly got 4....oops!


L xxx


SHARE:

Wednesday 27 February 2013

Bristol Blogger Meet Up (BBMeet)


Hi all!

Hope you're having a great week! If not...never fear as it's well over the half way mark and the weekend is nearly here woop!

You've probably seen some posts and tweets about the Bristol blogger Meet up last weekend (#bbmeet) so we thought we'd our own two cents to the mix.

I had been to an event and met some other bloggers before but M hadn't so this was a great thing for us both to go to, especially as it was in Cabot Circus which I was yet to go to since it was built (shocker!)

We agreed to go a few weeks before but due to us both being so busy we hadn't had much chance to read the tweets about it and so had no idea who was going, how many nor that there was a goodie bag!

We turned up at Frankie and Benny's at 11am along with everyone else and were so shocked to find that there was around 35 of us taking up 2 rather long tables!

We sat down and started chatting to some really lovely girls, all with their own blogs and got chatting about our nails, hair, favourites etc as I'm sure you can imagine.
It was great to network and meet with so many new people, and meet up with others I've met previously (aka Georgina from Twinklin Pixi)

We were both far too busy chatting and eating to take any photos (oops!) so instead I will show you a few quick snaps of the goody bag that we received:


I genuinely couldn't believe how much stuff was in there, it was such a shock considering we didn't even know we were getting them!


A massive massive thank you to Sasha and Alessia for arranging this, it surpassed any expectation I had as I just imagined it was a few of us meeting up for food and drinks.
I am SO EXCITED to start using these you would not believe!

Also a big shout out to Alessia's mum for the absolutely gorgeous tags that she made for each bag, how cute are these??


The only downside was the fact that there were so many people that we didn't get to meet everyone, nor exchange links as I'm sure there are some great blogs/bloggers that we've missed.

So we were thinking of compiling a list of everyone who attended so you can 'meet' those that you never got around to talking to :)

So comment below with your link if you attended and I'll add them into this post so everyone can see!
If you could share this post through twitter etc as well I'd be really grateful as through the hashtag I've seen some lovely blogs that I didn't know about before.
I'll add as many as I can and the rest is up to you!
Comment, tweet, share etc etc. Let's get everyone who went on this list!


It was lovely to meet everyone that we spoke to and cannot wait for another meet up again!

Fancy arranging another one soon Sasha and Alessia?? ;)

L and M xxx


SHARE:

Tuesday 26 February 2013

Review: Benefit BrowZings

I've been on the quest for perfect brows for a while. I thought I'd found it in Eylure Shape and Shade (reviewed here) I thought I'd found it. While it was perfect for my blonde hair when I died it pink I thought I needed a bit more. 


After a trip to town for some Christmas presents it somehow ended up being purchased. I'd heard so much about BrowZings and only positive things so I thought it was about time I tried it. I asked the lady on the counter to try it on me and I was instantly sold.


I love that Benefit products come with instructions on how to get the best results from their products. I love that it's also boxed. I like the black packaging it's sleek and even though it's slightly rubberised it's remained pretty clean.


It comes with a wax and a powder which was one of the main reasons I wanted this. I really wanted a wax as I felt like it would help give my brows a neater more defined finish. It's handy that it comes with tweezers but personally I don't like the brushes.


This is in the shade light. I do feel like I need quite a light hand with it as even though it's light I do end up with quite dark brows some days. At the moment my hair is dark so it's not a problem but I do worry it may be a bit to dark when I go back to blonde.


If I'm going out I do the lines to create the perfect arch like the Benefit MUA showed me and how the book shows to do it. I find this easiest to get the perfect brows but it's time consuming so I don't do it for everyday. I then use a cotton bud to remove the lines.


This is the product applied rather lightly to give a subtle definition. I find it best to dip the brush in the wax then into the powder and apply onto the brow. If I want them darker or more defined I use the wax first followed by the powder.


I love that I've been using this since December and the powders aren't even dented really. You use so little it really will last a long time.


It's great to be built up and using either more powder or more wax can adjust the colour to suit my ever changing hair.

BrowZings retails for £22.50. Even though it's a little expensive I'd definitely say it's worth it as it will last ages and I love the results it gives. I use this most days now it's so quick and easy to use.

What's your favourite brow product?

Love M

xxx


SHARE:

Monday 25 February 2013

Spending Ban Update 5

I've been meaning to write a spending ban update for a bit now. It's been a while since I've done one. You can read my last one here. I've not been doing them weekly as not much has changed.

So far I'm pretty proud of myself. It's been 56 days and I've still not bought any make up. The Saturday before last when L and I went to LFW I forgot to pack my flat shows so picked these up from Asda. For only £10 I wasn't too annoyed at spending. I love the stud detail and the nude colour. They also come in black, you can see them here.


So in 55 days to have only bought these which were truly something I didn't need. I have bought shampoo and conditioner and some DVDs but at least I haven't added to my make up collection.

Last week was probably my hardest. I was moody and all I wanted was a new lipstick. It was so hard to actually resist. So far I have, the thing keeping me going now is that me and L are going to go to MAC and have our makeup done for her birthday. It is before the spending ban is up so I'm going to add on a few extra weeks for those purchases.

I feel like I'm getting past the not buying thing now, it was making me moody at first as I couldn't shop but I'm starting to feel more proud now when I put things back.

L and I went to a Bloggers meet up on Saturday. I did resist buying anything but I did get my brows done. They were bugging me as they were uneven.

For the next 4 weeks (prior to L's Birthday) my plan is to not buy ANY make up, clothes, skincare, dvds, starbucks (this may be hard as on Thursday's I'm in uni all day and my flask isn't enough to last me). I'm also going to make sure I buy food to keep in rather than buying junk food and lunch.

I think my spending is getting better but I'm still not as good as I can be. I think for me the spending ban needs to be a more permanent only buy if I need things.

I've also signed up to my local pool which is £26 a month so that's money I need to stop wasting now. 

My Wishlist.

MAC Brick-O-La (this has been there since the beginning. I've still not seen it in person)
Urban Decay Setting Spray
MUA Eyelid Primer (my mum got me one so I've taken this off)
Illamasqua Pigment Base
Origins Cheeks and Balance
La Roche Posay Effaclar Duo (L has offered me both of these this week as they are cheap. It's hard to tell myself I don't need them)
Daniel Sandler Water Coloue Blush
Elf Brush Cleaner
Elf Blush and Bronzer Duo (we were very lucky to get an amazing goody bag from the Bloggers meet so I don't feel like I need this now, post coming soon)
Stocking Tights
Maybelline Colour Tattoo
Rimmel Appocolips

This time I'm adding

Laura Mercier Undercover Pot Concealer 
Laura Mercier Silk Creme Foundation or the Tinted Moisturiser. I want to get samples of both of these.

How are your bans going?

Don't forget to check out Marvelle's blog here to see more of the lovely ladies doing the ban.

Love M

xxx


SHARE:

Sunday 24 February 2013

Review: Glo Tan Tan in a Can


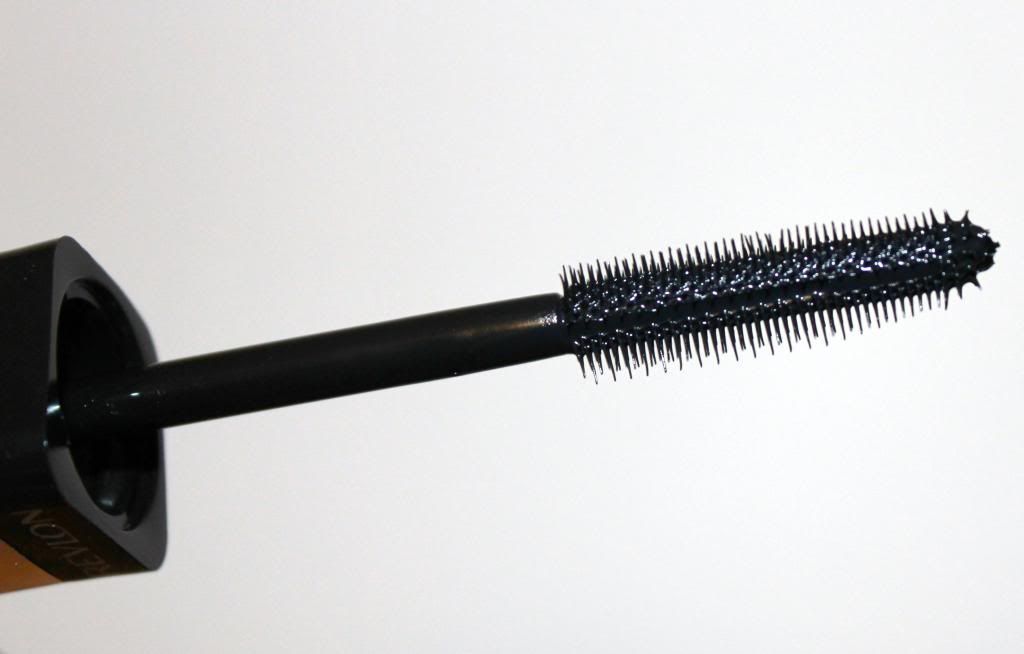
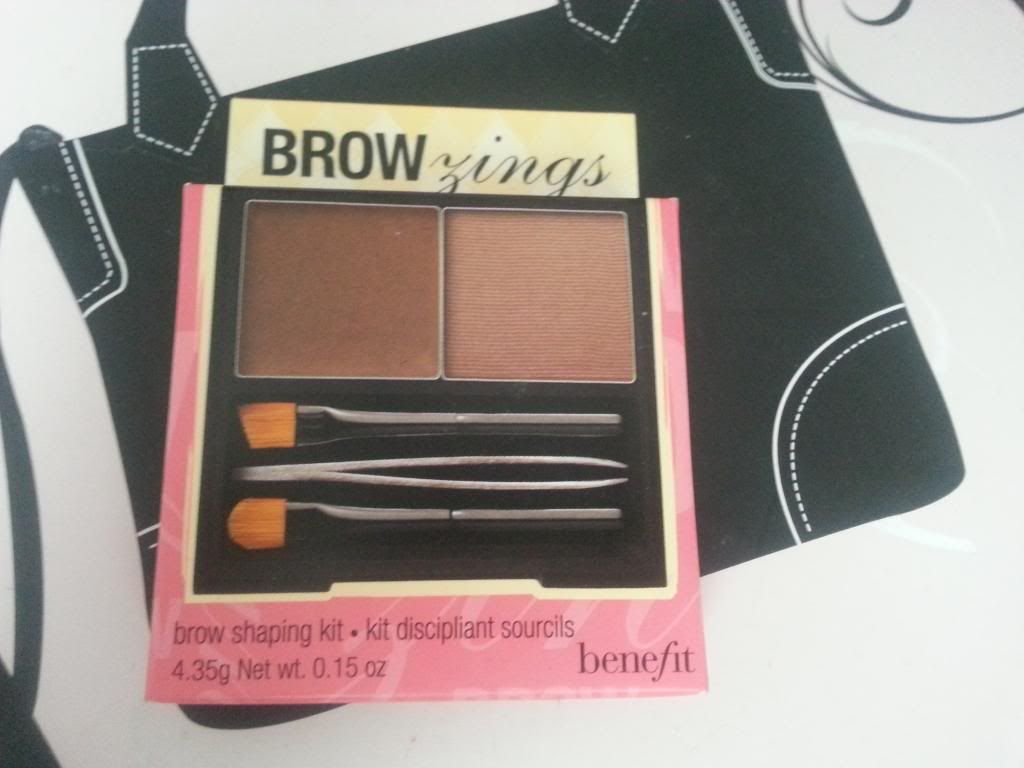
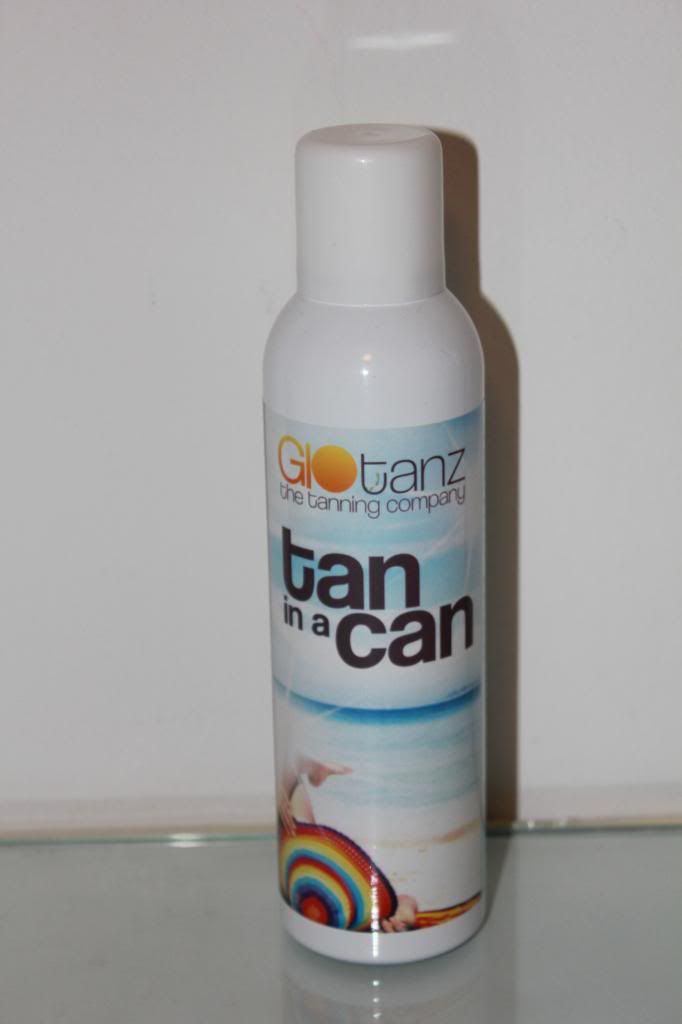
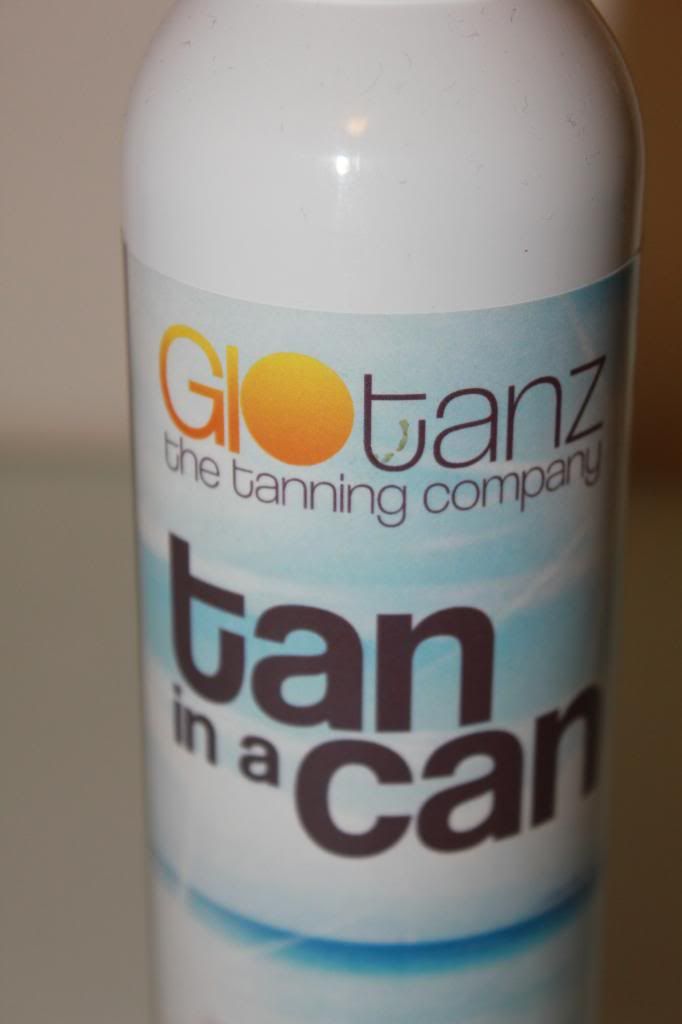
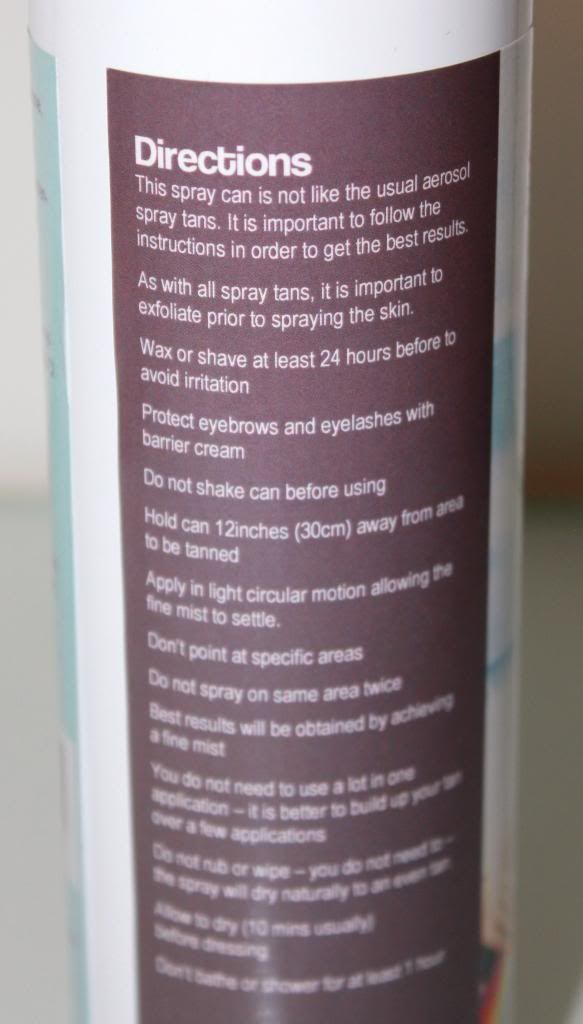
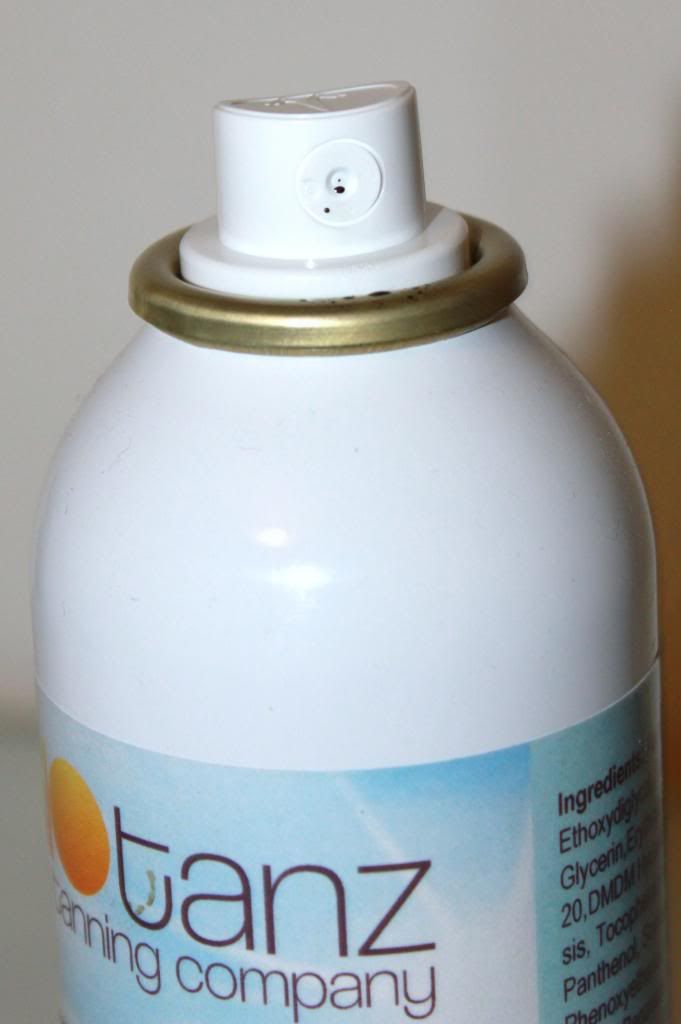
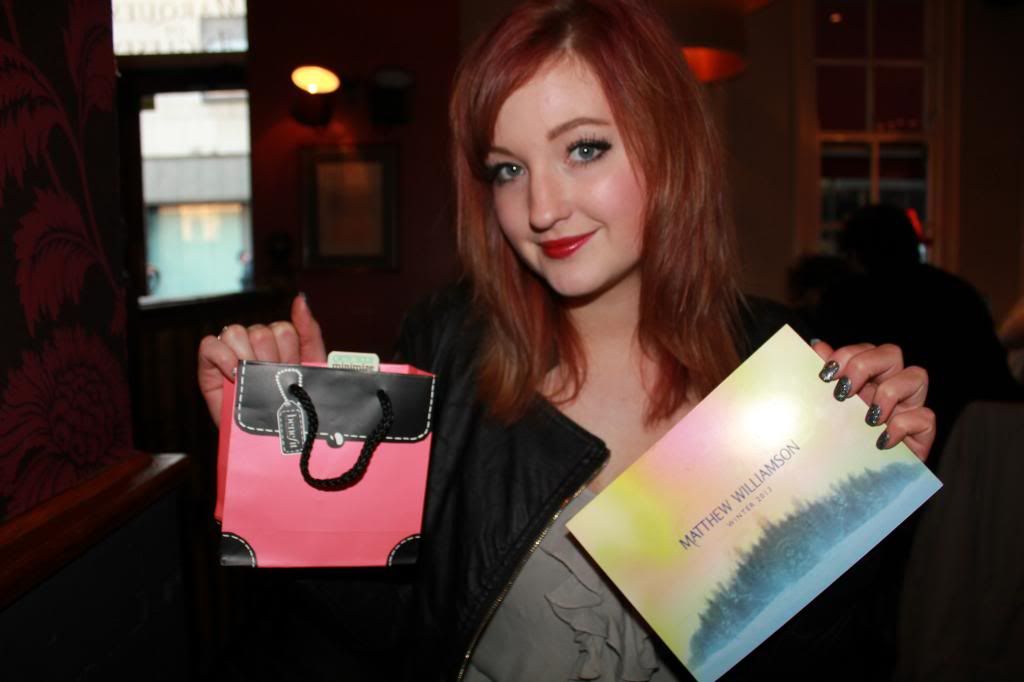
A few weeks ago we were lucky enough to be sent a can of Glo Tanz Tan in a Can*.

This is a new style of fake tan which isn't in an aerosol, and you do not need to shake it before use.

Both of us are regular self tan users, being naturally pale if we plan a night out we spend around a week before preparing tan. It seems to take us both a good few coats to build up tan onto our skins. It's fair to say we've both tried a fair few of the ones on the market at the moment. L's favourite currently being Vita Liberata and M's being Lauren's Way Darker than Dark.


This was a tan that appealed to both of us after reading the press release on it. It's paraben free, alcohol free, environmentally friendly and not tested on animals. It also boasts to be fast drying, non sticky and to have a light tropical fragrance. 


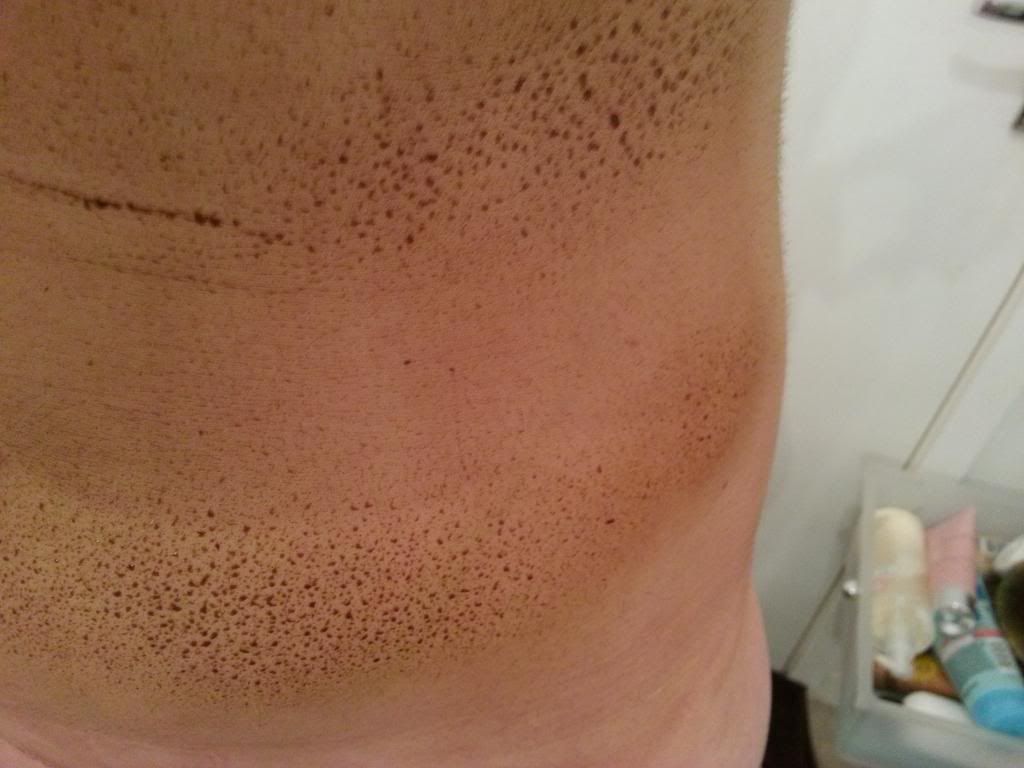
The can has a list of instructions that are important to follow. This tan is really not like any spray tan I've ever used. I think it may be due to the fact it's a non aerosol can. There is definitely a temptation to shake the can but it really is best not to. With spray tans usually you layer them on and spray over an area a few times. This isn't the case with this tan. If you do you'll end up with this.


L and I both ended up with results like this the first time. We wondered if we were doing something wrong with the tan. I washed it off straight away and stepped away from the tan. The first time I used it I found it quite difficult. It's hard to go against what you normally do and only spray over each area once. The product is a really fine mist and does disperse onto the skin pretty much by itself. 


After my first attempt I'd emailed the company and asked for some advice. The next day I reapplied it all over as L and I were off to fashion week and I wanted a tan. I was so surprised by the different result I achieved. This tan will last ages as you really use so little when you apply it. This time I held the can basically as far away from my body as my arm would let me. I found this gave the best even application. I lightly sprayed each body part and was careful not to spray the same area twice.

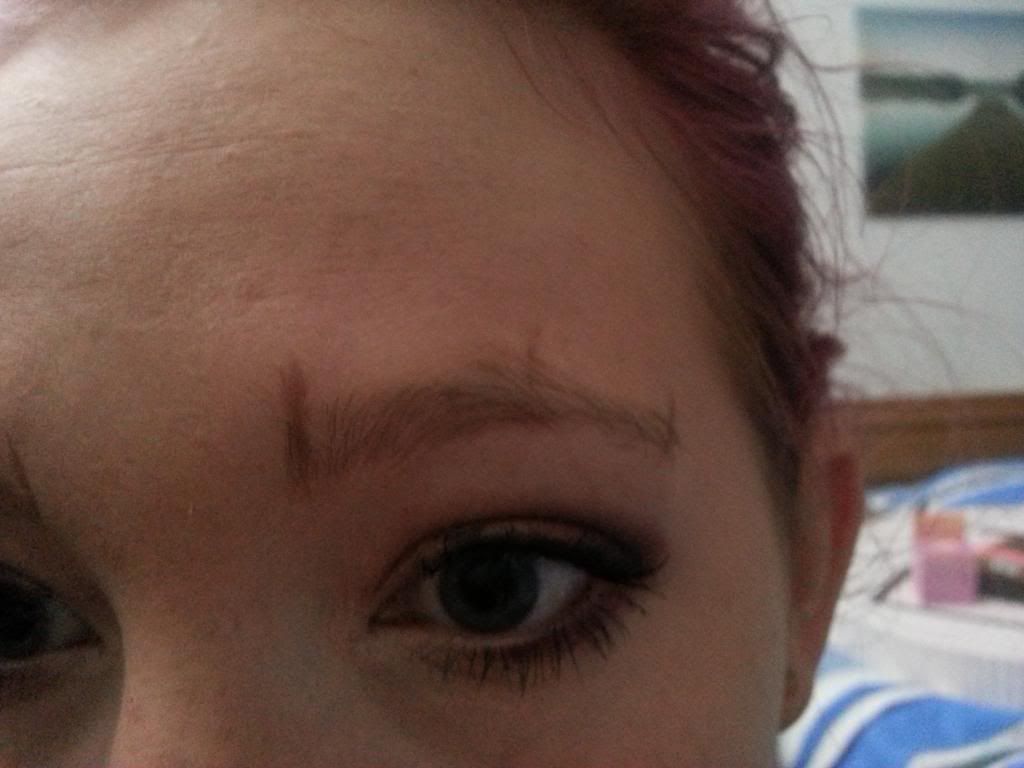
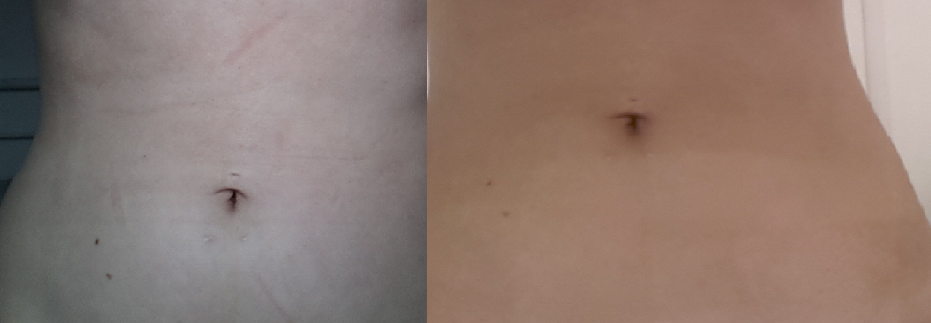
Pre tan skin colour in natural light. 
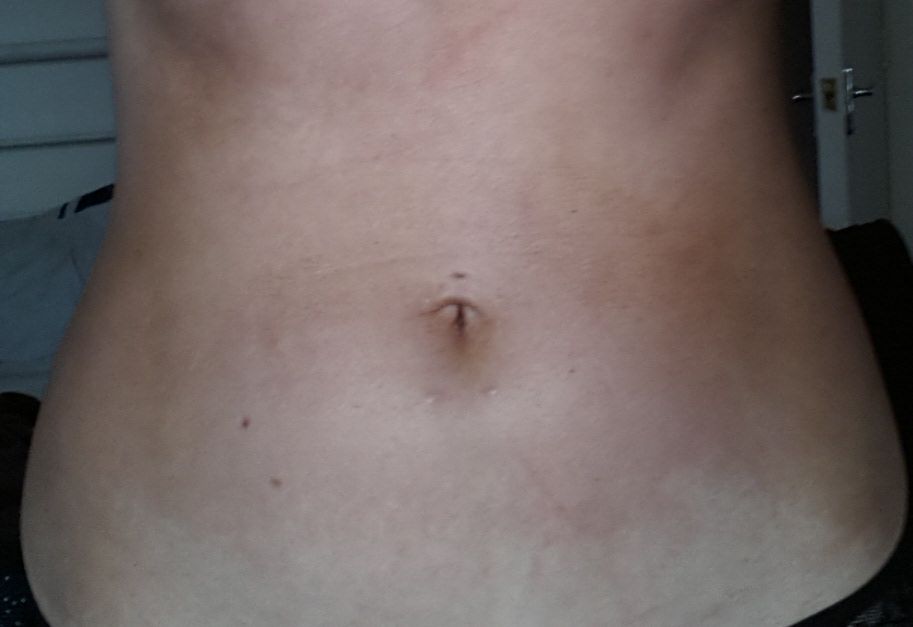
I had a few dark spots on my stomach so lightly dabbed these with a tanning mit. I did find that even though it didn't look fully even when applied I was surprised as it dried it evened out and I was left with a gorgeous colour.

Immediately after application  in natural light.
As you can see it doesn't look that even but once dried it's amazing. It's feels really light on the skin and is really quick drying. I find on my skin it needs to be left at least 4 hours before washing it off. I tend to leave it over night. (don't do this on white sheets, I've now learnt)

once washed off in the bathroom light.
As the photo shows and when compared with my skin above you can see the glow it gives. I found this tan unlike any others I have used so it was hard to get used to but since the second time I have done 3 full body applications and the can still feels reasonably full.

A few tips

  • Don't shake the can
  • Apply a sheet a double sheet (one you don't mind ruining) down where you apply it. 
  • As it's a fine mist it does disperse far hence the sheet but it gives it an amazing finish
  • Apply with socks on. As the tan go everywhere the first time I ended up with dark feet. Now I wear trainer socks then apply tan to them last
  • Put vaseline on spot scars and brows
  • Only spray each area once. Tan can be built up over a few days
  • Keep a tanning mit near by and dab if necessary
I'm now converted. The tan is messy but the results are worth it. When slept in the tan I'm left with a gorgeous even colour (I've had no streaks yet) that lasts around 4 days all over and then leaves a glow for up to 7. I absolutely love that it DIDN'T smell of biscuits!!!! How amazing. I find some that don't smell on application start to smell as it develops. Not with this one. I noticed a slight tan smell the next day but nothing that all other tans have left.

This also makes a great face tan. Where it is fast drying and a light mist it doesn't break me out. It's handy being able to use the same face and body tan. 

Overall it's an effort the first time you apply it but great afterwards and I've used it a good few times now. It does take getting used to but it's really worth it for the colour you get an how long it lasts. 

Love M

xxx


My first attempt at using this was admittedly a disaster. 

I got into my shower as it was the easiest place to spray tan onto me without making a mess.

However a shower cubicle provided the first problem, you need to hold the can a bigger distance from your skin than I ever have with other tans and my shower cubicle simply wasn't big enough for me to hold the can far enough without it running down my legs!

The tan feels quite wet and so you definitely need to hold it far away to allow the spray to settle onto your skin without running and leaving patches.

After my first attempt I was a little put off, but tried it again by getting into my bath and trying it again.

This was much more successful as there was much more space, though a little more scary as the dark coloured tan looked black against the white bath tub!

The effort to apply the tan was well worth it though as the colour is very natural and lasted a good few days.
I think as we are used to shaking a can, applying it and rubbing it in it took a few goes to get the technique right but the outcome was worth it.
I will definitely be using this again for the colour that it produced.

L xxx

This is a new product that is currently being prepared for sale by a company who previously only dealt with professional air brush tan. It can now be purchased for £26.39. 


This was a PR sample but both of our opinions were honest
SHARE:

Friday 22 February 2013

LFW Matthew Williamson Show

This post is going to be photo heavy.....but well worth it!!


When I saw Benefit were running a Twitter competition to win tickets to Matthew Williamson's Show and a Benefit goodie bag I immediately retweeted the tweet.

A few weeks ago I was having a really bad day. Finished off by splitting my skirt. When I checked my twitter Benefit had tweeted me saying I was the lucky winner. I was completely over the moon. I was so excited. I've been wanting to go to London Fashion Week for a while. I thought it would be really exciting.


Of course I immediately text L to invite her along with me. She rang me as soon as she finished work to discuss plans. We decided to make a weekend of it and booked travel and somewhere to stay.

The show was on Sunday and was a great way to end the weekend. Before the show we met up with some of the lovely ladies from Benefit, they kindly gave us both a goodie bag with some great goodies in.


After a quick drink we went to the Royal Opera House, which was an absolutely beautiful location. It has the most amazing ceiling to the building and was perfect location for the show.


There were obviously lots of celebs....here's a few snaps of my paparazzi style photography!
Above is Twiggy having an interview...


Here's Olivia Palermo surrounded by photographers.


A whole host of other front rowers including Mary Charteris in the pink and my new idol for being so beautiful is Vanessa Kirby in the pale green dress.


Daisy Lowe was also in attendance...

and quickly made her way over to Yasmin Le Bon and Olivia.


Then the lights went down.....and the show began!


Matthew's show was amazing with some gorgeous pieces. The colours were amazing and the attention to detail was stunning. Some of the detailing and beading on the pieces was so pretty.

The show featured some gorgeous colours from sky blues to navy with turquoise and some beautiful orange and purple combinations. There were also some beautiful pleated skirts which were similar to last years fashion with frills being added to the bottom for a more feminine touch


One of my favourite things was the lighting panel at the back of the runway. The theme was based around Northern Lights and the panel reflected this perfectly!


L's current favourite colour is coral, and this dress was everything she wants in her wardrobe!


Personally for me the stand out piece was the stunning sky blue dress. This was skater style with mid length sleeves. What really caught my attention was the way silver glitter was added to the skirt in almost an ombre style. I'd absolutely love the dress. Of course I'm sure the price tag will mean that won't happen.


L also loved the orange coat and matching skirt with gold sequins. The structure and style were perfect!


Cara Delevigne was also in attendance strutting her stuff down the runway with fabulous brows as usual.


There were some gorgeous floor length gowns with lovely colours merging. One of the floor length dresses had the same colours as the invitation. The greens merged into orange and blues was stunning.


For the finale the ceiling began to snow!
It looked beautiful with the models being lightly dusted with flakes and the lighting setting it all off beautifully.


The man himself! Taking a very well deserved bow at the end of the show.

And as we were leaving who should we see but Cara Delevigne!
The poor girl must have been blinded with the amount of flashes going on but she still seemed to enjoy it.


It was an AMAZING experience and we would have loved to do it again and again!

No doubt you'll be hearing from us soon with regards to the Benefit goodie bag!

Thanks again to Benefit for putting on the competition.

What would have been your favourite dress?? Which designer would you have loved to have seen at LFW?

L and M xxx


SHARE:
© The CSI Girls. All rights reserved.
Blogger Designs by pipdig