Saturday, 31 May 2014

Urban Decay Start Getting Naked kit


Morning lovelies!

It seems to be Urban Decay madness on here lately, not only do they seem to have some fabulous new products that I NEED they seem to be bringing out some great offers too.

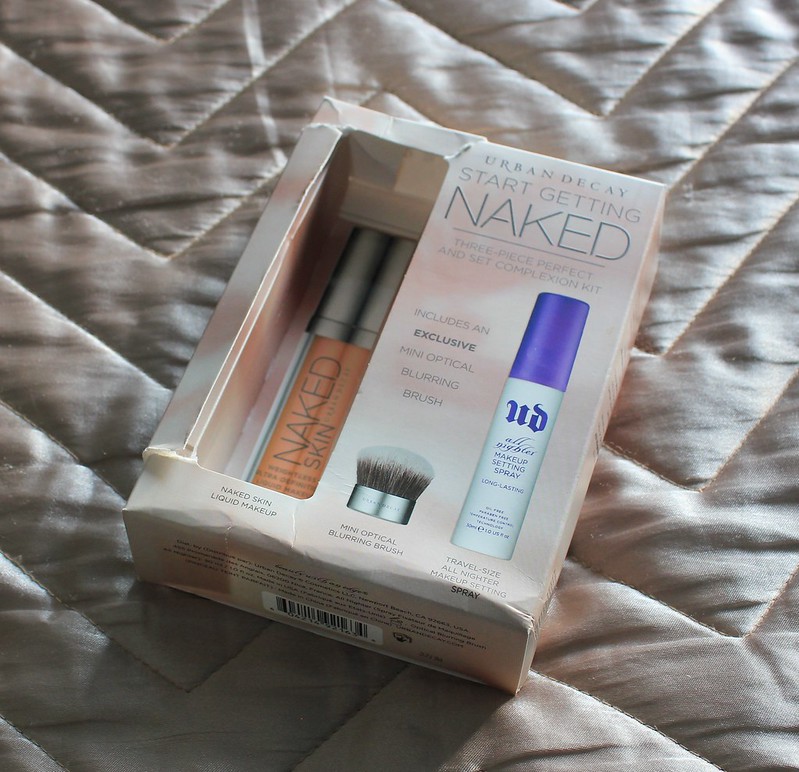
When I picked up the Naked Skin foundation they had an offer on where you could buy this set for £5 after buying the Naked Skin foundation (review here)
015

I couldn't wait to snap this up but unfortunately for me...the only one available was the battered box hidden at the back of the drawer! As you can imaging, blogger priorities meant that I was horrified I would have to take photos of a battered box.
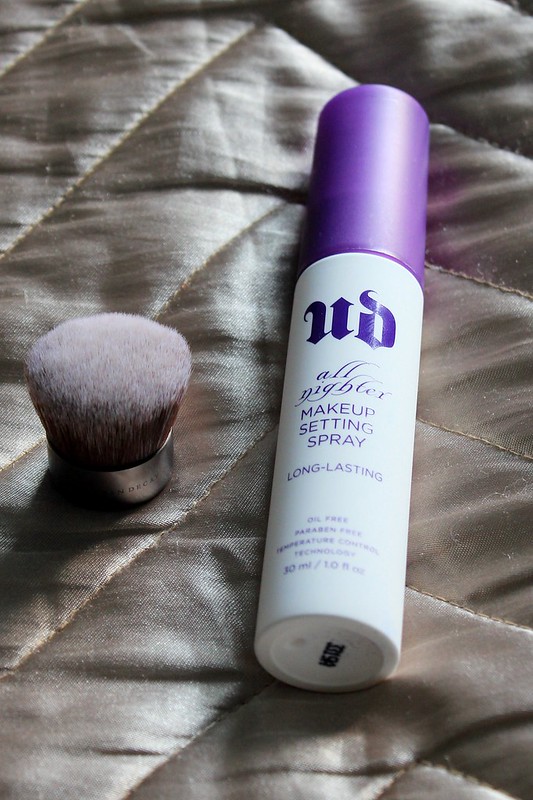
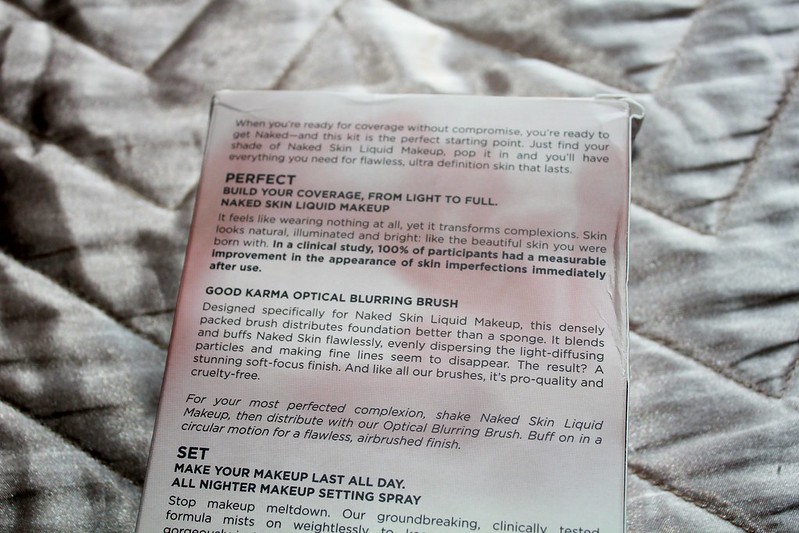
Nevertheless the deal was far too good for me to miss so I just had to get it, for £5 I picked up the travel sized All Nighter Setting Spray and a mini Optical Blurring brush.
017

Let's talk about the brush first; I've been lusting after this for a while and cannot stop touching it every time I walk past the counter. I know eventually  I will buy it but my funds at the moment are very restrictive.....a car service and a plethora of weddings, hen nights etc means that my bank balance for treats is non existent. Ah well, such is life!

Having blended the Naked Skin foundation onto the back of my hand (always a good place to start i think....) the finish was amazing. The brush is so densely packed with bristles that the foundation is buffed in all directions into your skin resulting in one of the most even finishes I've ever seen.

My only issue that I've had with the miniature version is that because it is so small and the bristles so densely packed that it can be hard to buff it in evenly without brushing it off. The brush is so short it can be difficult and during my 6am morning rush i don't have time for the time and effort it takes when my Real Techniques buffing brush does a similar job with less time. I still want the full size optical blurring brush though, the finish is unbelievable!
018

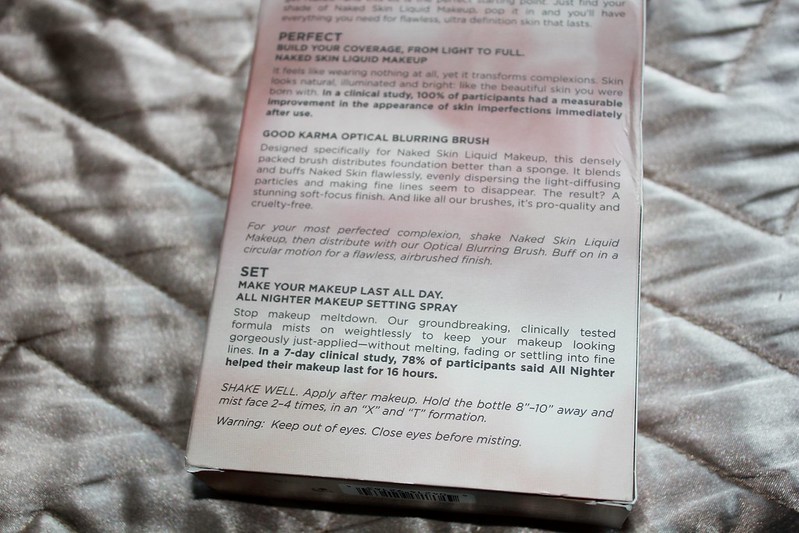
The next product included to help give you the best finish is the All Nighter Setting Spray. M bought me this for my birthday last year and you can read my review here.

I'm a fan of the setting spray and have been using it sparingly for nights out and weddings but I will certainly be using it more now that i have another!
I apply it in the T and X formation that they suggest and it does help your make up last longer.

020

The full size Optical blurring brush is priced at £20 and I believe the travel size Setting Spray is priced at £9 for the 30ml. 

So for £5 this was an absolute bargain yes? And I couldn't leave it behind right?


Good, that was the conclusion I came to as well.


L xxx


If you enjoyed reading this post and would like to see more from us, you can do so via the following links!

GFC     BlogLovin'     Twitter     Instagram    
SHARE:

Friday, 30 May 2014

Fitness Friday: Houmous


Hey lovelies!

I'v definitely got that Friday feeling today and cannot wait for the weekend to begin! I've been getting into baking recently and I'm a bit of an amateur so have been picking simple things that I eat on a regular basis and trying to make them from scratch by myself rather than buying them in. This saves money and also my body from preservatives, salts, sugars and other unnecessary ingredients.

My latest venture has been to create houmous. I love eating houmous but after a quick chat with a few colleagues the amount of sugar, salt and fats in shop bought houmous surprised me and I vowed to try and make my own. I've also been trying to get more veg as opposed to fruit in my diet and this was the perfect opportunity!

My mum is a slimming world member and showed me this recipe full of simple natural ingredients and I couldn't wait to try it.

021

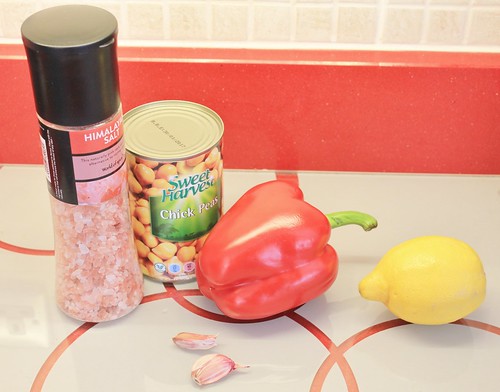
All you need is a tin of chick peas, a red pepper, 2 cloves of garlic, some lemon juice, salt, water and one calorie spray.

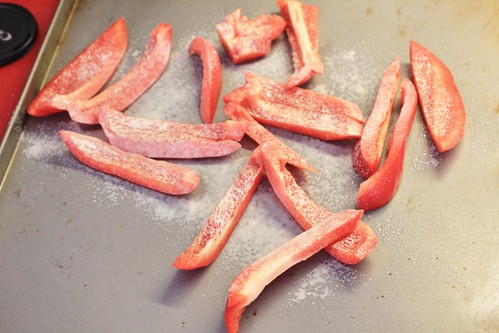
First you need to slice up the pepper and roast it in the oven until it's soft. After slicing it and spraying it with the one cal spray this took about 10/15 mins.

022

032

Look how lush they look! The smell in my kitchen was amazing at this point, it was hard not to tuck into it on its own as i love red peppers!

Whilst they were in the oven I got everything else ready and it's so simple!

027

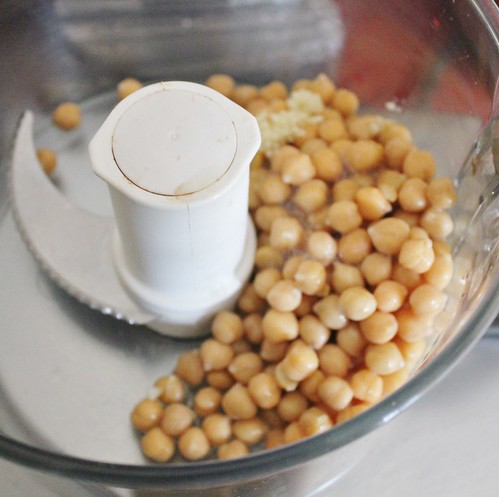
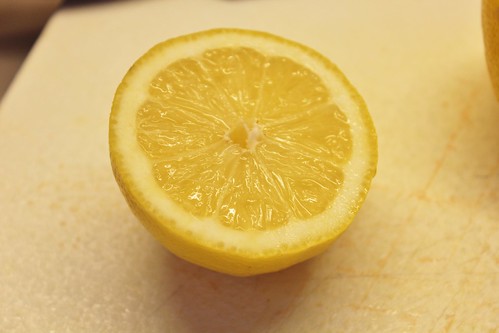
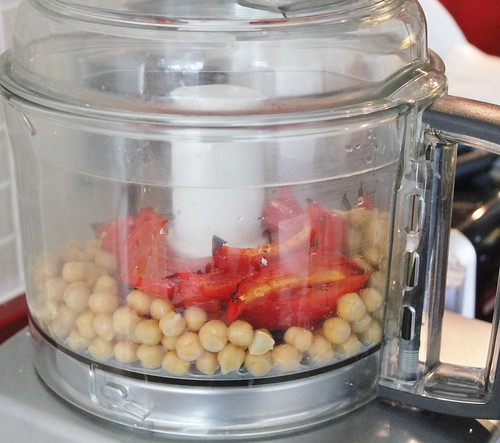
Just add the chickpeas and crushed garlic into a mixer, along with a tablespoon of lemon juice. I'm a bit of a haphazard cook and I like to just throw things in, so I was a rebel and just squeezed half of a real lemon into the mix and hoped for the best. It was actually perfect so I was pleased it wasn't too much!

025

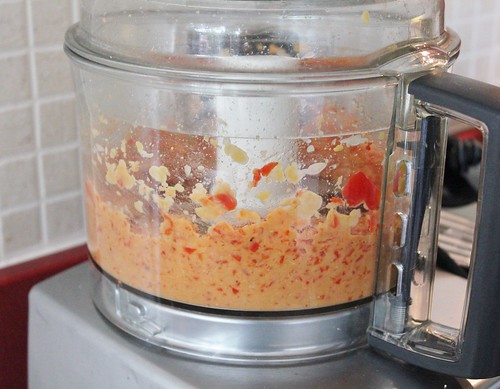
Once the red pepper has been roasted and cooled down just add it to the mix and give it a whizz...

033

034

You can add water to loosen the mixture to your desired consistency throughout the blending. Don't forget to stop it and scoop everything into the middle and make sure its mixed and blended as much as possible. Then just add salt to taste.

Super easy and create a bigger amount of houmous than you would normally buy in a pot from the supermarket. It actually created more than shown in the bowl below but I'm afraid taste testing purposed meant that I'd taken a fair few spoonfuls of it 'just to check it' by the time I remembered to take a photo....

036

This was seriously yummy and I could honestly never buy shop bought again!

I think I'm going to be more adventurous next time and try adding caramelised onions to the mixture or maybe more lemon. The only thing I'd change about this is possibly only use one clove of garlic and although I love garlic my work colleagues probably won't appreciate me stinking of it all day!


Definitely try this out though! do you have any houmous recipes I can try? What vegetables have you added to it?


L xxx


If you enjoyed reading this post and would like to see more from us, you can do so via the following links!

GFC     BlogLovin'     Twitter     Instagram    
SHARE:

Thursday, 29 May 2014

Urban Decay Triple Threat Travel Pencil Set-Smokey Matte Edition


Good morning!

Being the Urban Decay obsessive that I am, as soon as I wandered past our local counter and noticed this beautiful set I couldn't help myself but snap it up.
This travel pencil set was an absolutely bargainous £10. TEN POUNDS!!! For only three of the marvellous 24/7 Glide On Eye Pencils?? I had to investigate.

018

020

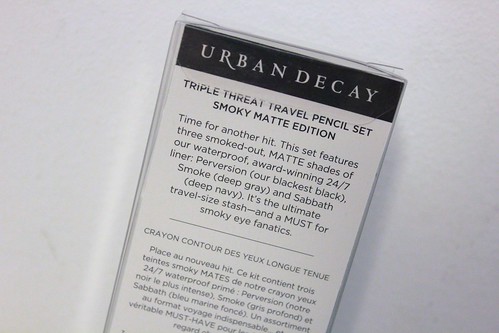
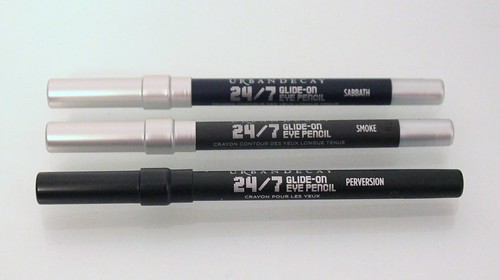
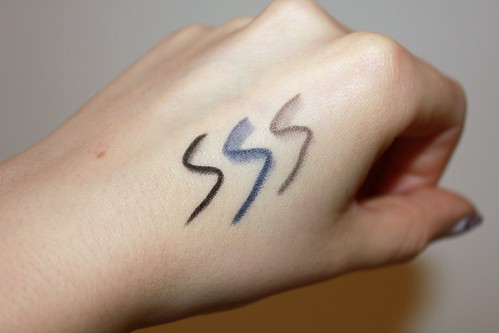
As mentioned in the picture above, this colours are three of the matte smoked out shades of their award winning liners.

Perversion is their blackest black and I have heard so many great things about this that it was definitely the main reason for picking up the travel pencil set.
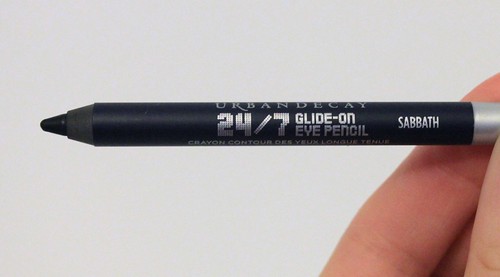
Sabbath is a deep navy and one I will look forward to trying out, navy liner is very popular with some but I've never tried it.
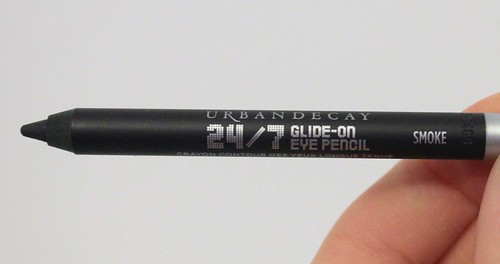
Smoke is a deep grey and will be perfect for day wear; I've been told this goes very well with the Naked 3 palette.


024


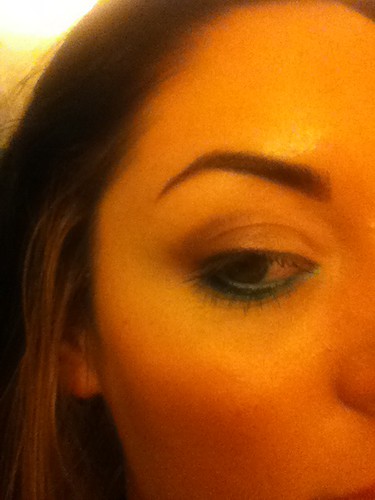
I especially couldn't help but pick this up after the lovely Haddie on the UD counter in Debenhams tried out some of their gorgeous pencils on me. She used three separate colours; freak, LSD and junkie to create an amazing flash of greeny blue under my eyes and i just fell in love with how beautiful and creamy they were and how they can so easily change your look.

Untitled


Aaaaaaaaaanyway back to the set. This is perversion:

025

It's a blacker than black absolutely essential pencil that every person needs in their lives, let alone an addict like myself. I should have picked this up a long time ago and I've barely put it down since buying it, it even accompanies me to work sometimes when i need that extra bit of eyeliner to get my through a tough day, you know the feeling?

050

Its amazing, super creamy, long lasting and smudges so that there isn't too harsh of a line. I'm a HUGE fan.

026

Next up is Sabbath, the blue of the bunch and a colour that I hadn't tried before.
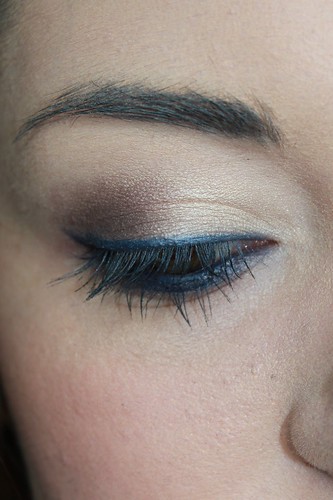
This has been a great addition to my collection as I don't own anything like it, and for my daily work make up I wear a lot of nudes.The blue is the perfect colour to shake it up without being black, see below for proof!

005

006

I love the flash of colour you get on the upper lid but its still wearable to work, my new fave!


Lastly is Smoke, the deep grey of the set and another colour i hadn't used but was excited to. After hearing that it went so well with the Naked 3 palette which is also new to my collection it wasn't too hard to put it all on just for the sake of it and coo over how brilliantly it blends.

028

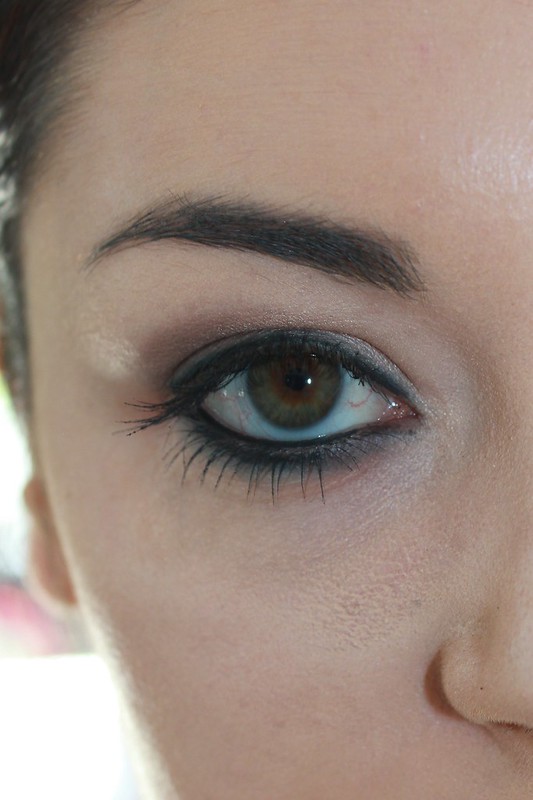
This creates a much softer look and truth be told, i should definitely be wearing this to work instead of Perversion. But screw it, black eyeliner is a necessary essential sometimes.

Smoke blends beautifully and true to their word the UD girls were right about it complementing the Naked 3 palette which contains a lot of rose gold colours. The grey is nowhere near as harsh and for most of the looks you can create with Naked 3 the grey is the first choice.

078

029

030

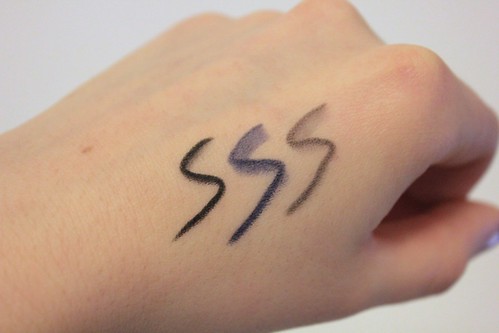
Here they are swatched on my hand without and then with flash. All of them are really wearable shades that can be worn day or night and can be blended out with their 24/7 blending brush (post coming soon!) for any kind of look.

I can see me lusting after many of the shades in the extensive collection. There are a number of green and blue coloured metallic pencils on my list and thats not even starting on the essentials; gold, silver and purples to go with my hazel eyes. With 49 currently available on the Debenhams website along with a whole host of other double ended and limited edition ones I can see this being an expensive addiction at £14/15 each which is why i was so attracted to this set to begin with.


Will you be snapping this set up as well? Which is your favourite coloured pencil?

I have no idea where to start with buying them al but I will have to begin soon!


L xxx


If you enjoyed reading this post and would like to see more from us, you can do so via the following links!

GFC     BlogLovin'     Twitter     Instagram    
SHARE:

Wednesday, 28 May 2014

Aveda Colour at Kamigata

Morning All

I've been experimenting lots with my hair lately so I thought I'd share with you. Especially for our South Wales followers as the salon I'm loving is a Cardiff one.

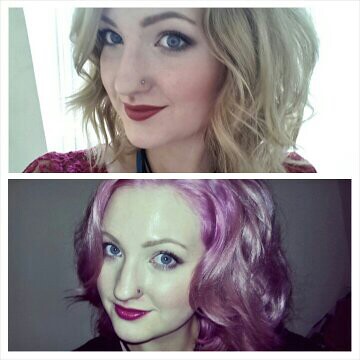
For ages I got my hair done in Guy Christian. I'm a believer in you get what you pay for and love a luxury salon as it feels like a feel treat. After telling myself I couldn't afford it I became a groupon gal and jumped from salon to salon. I convinced myself I was happy but after a few disasters when I saw Kamigata advertising on Facebook for colour models I jumped at the chance.

Kamigata is a salon in St David's 2 and whenever I've walked past I've wanted to try it. Anyone who knows me will know over the past 6 months I've experimented with my hair a lot but after a few disasters at the hairdressers (they died it pink but it didn't take to half my hair so looked fruit salad esque, when they 'fixed' it two weeks later with lilac again it didn't fully take!) after this I decided to do it myself. After the condition started to get bad in Jan I had a good 5 inches cut of my hair and it died brown to make it healthy.

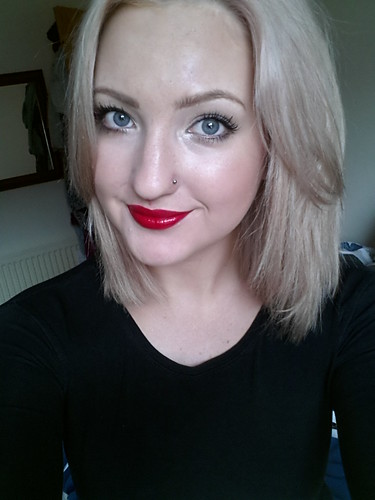
As soon as the hair dye went on I wasn't happy. I didn't feel like my hair was me, I felt bland an unhappy with it and quickly ended up putting a blonde box dye on it.

Untitled

The first transformation by Matthew!

Kamigata were asking for hair models to test out the new Aveda colours. Aveda were a brand that traditionally followed natural hair (you should check out Matthew's balayage skills. A natural ombre!) but due to the trends of bright colours have released some amazing pinks and blues which can be mixed to make other colours.

Untitled

In daylight. I love the shade it came out.

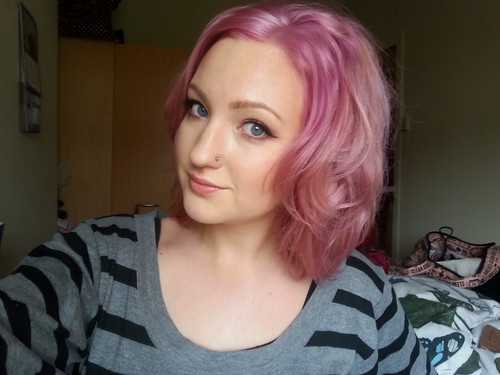
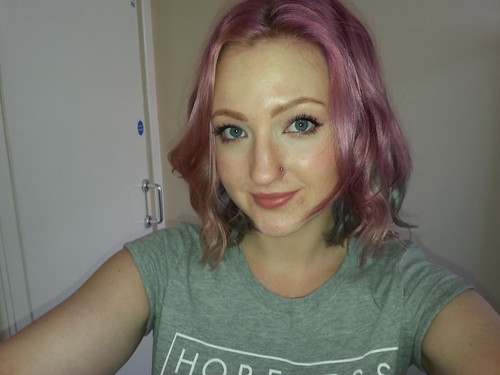
After a chat with Matthew I felt in much more capable hands. He lifted my hair all over so it was an even base an applied the pink from the collection. We applied it wet at first so it had a toner effect and left my hair with a gorgeous rose pink effect (this is what I want for summer!) as we were playing around with colour we decided to go brighter! Here is the amazing effect.

Untitled
As it started to fade it turned a lush rose colour!

The thing that has impressed me the most with the Aveda colours is the gorgeous way they fade. No patchy fades and washed out to a soft rose pink then back to basically blonde.

Untitled

The faded effect!

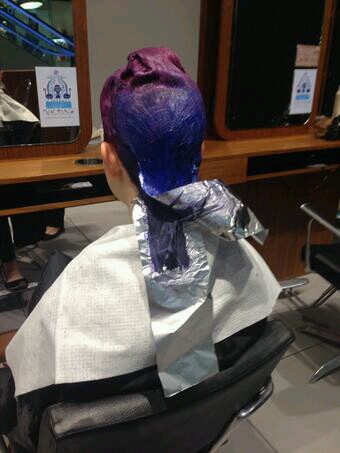
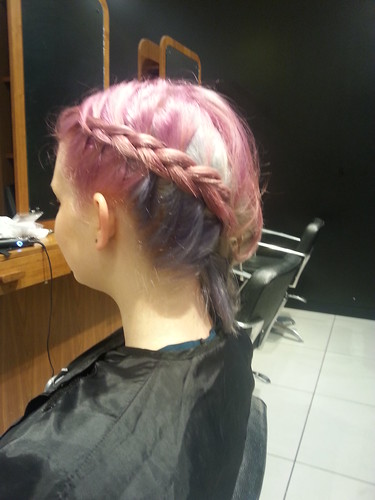
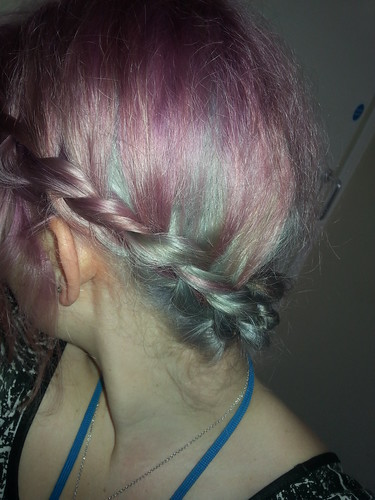
After this we decided to play more. Let's go three colours. We used the pink mix from before, the blue and mixed the blue with bleach to give a purple colour. I love how mixable the colours are to get results you like. You can get totally different shades of pinks, purples and blues.

Untitled
eeek it looks scary!

Untitled
The finished result.

Untitled

Untitled
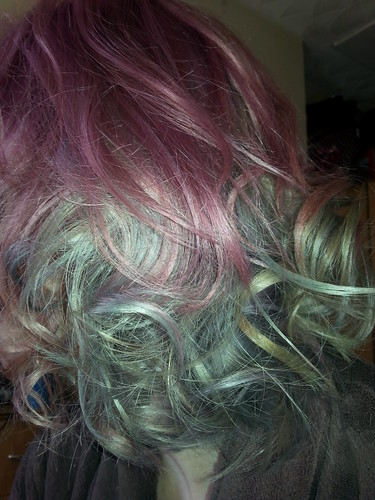
I love how the green and blue poke through.

Unfortunately my hair has to be normal for the next 8 weeks. I'm totally converted to Matthew. I totally trust him to do whatever to my hair as I feel like he already knows me. It's been ages since I trusted someone so much with my hair! I can't wait to let him play again once my brother's wedding is over!

Untitled
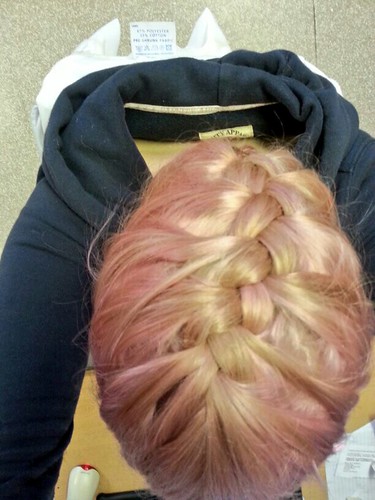
Again it faded to lush icey tones!

Untitled
and back to rose pink! I couldn't be happier with how it fades!

Untitled
And here we are now. I can't wait till next Thursday for Matthew to work his magic! We are thinking blonde/ash toned next!

Are you someone that experiments with hair? If you're South Wales based I can't recommend Matthew enough. He's done some beautiful work.

Love M

xxx

If you enjoyed reading this post and would like to see more from us, you can do so via the following links!

GFC     BlogLovin'     Twitter     Instagram    

feel like I should say this isn't a sponsered post nor did kamigata know I was a blogger. I just struggle to find a hairdresser I trust and wanted to share when I have find a good one!
SHARE:
© The CSI Girls. All rights reserved.
Blogger Designs by pipdig