
A double whammy post for you today!
We were far too excited after completing a few day's of Make Up Savvy's challenge to finish our 21 Days of Nails without taking part in the 'Film Inspired' challenge.
We both spent ages thinking up ideas and films and trying to find something that would be easily translated into a nail design that people would understand and be able to replicate if they want.
My post is based on a book and film that I'd barely heard anything about until the film came out not so long ago.
I'm one of those people that needs to read the book before seeing the film and I can promise you I could not put the book down and ended up reading all three within 5 days, i had some serious eye strain by the end!
It is of course 'The Hunger Games' by Suzanne Collins.
So I decided to try some nail art inspired by this film:

First of all i used the China Glaze Capitol Colour in Smoke and Ashes which is actually for District 12 on my thumb and middle finger.
I used Rimmel's yellow (can't remember the name sorry!) and a Nails Inc free with InStyle orange colour blobbed on top for my other nails.

I then covered the yellow and orange nails with a black crackle effect polish (Barry M) to imitate the fire and burning effect on the front of the book cover that i used for inspiration (found here)

Then I used Model's Own Champagne nail polish to draw on a Mockingjay on the thumb nail and a bow and arrow on my middle finger.
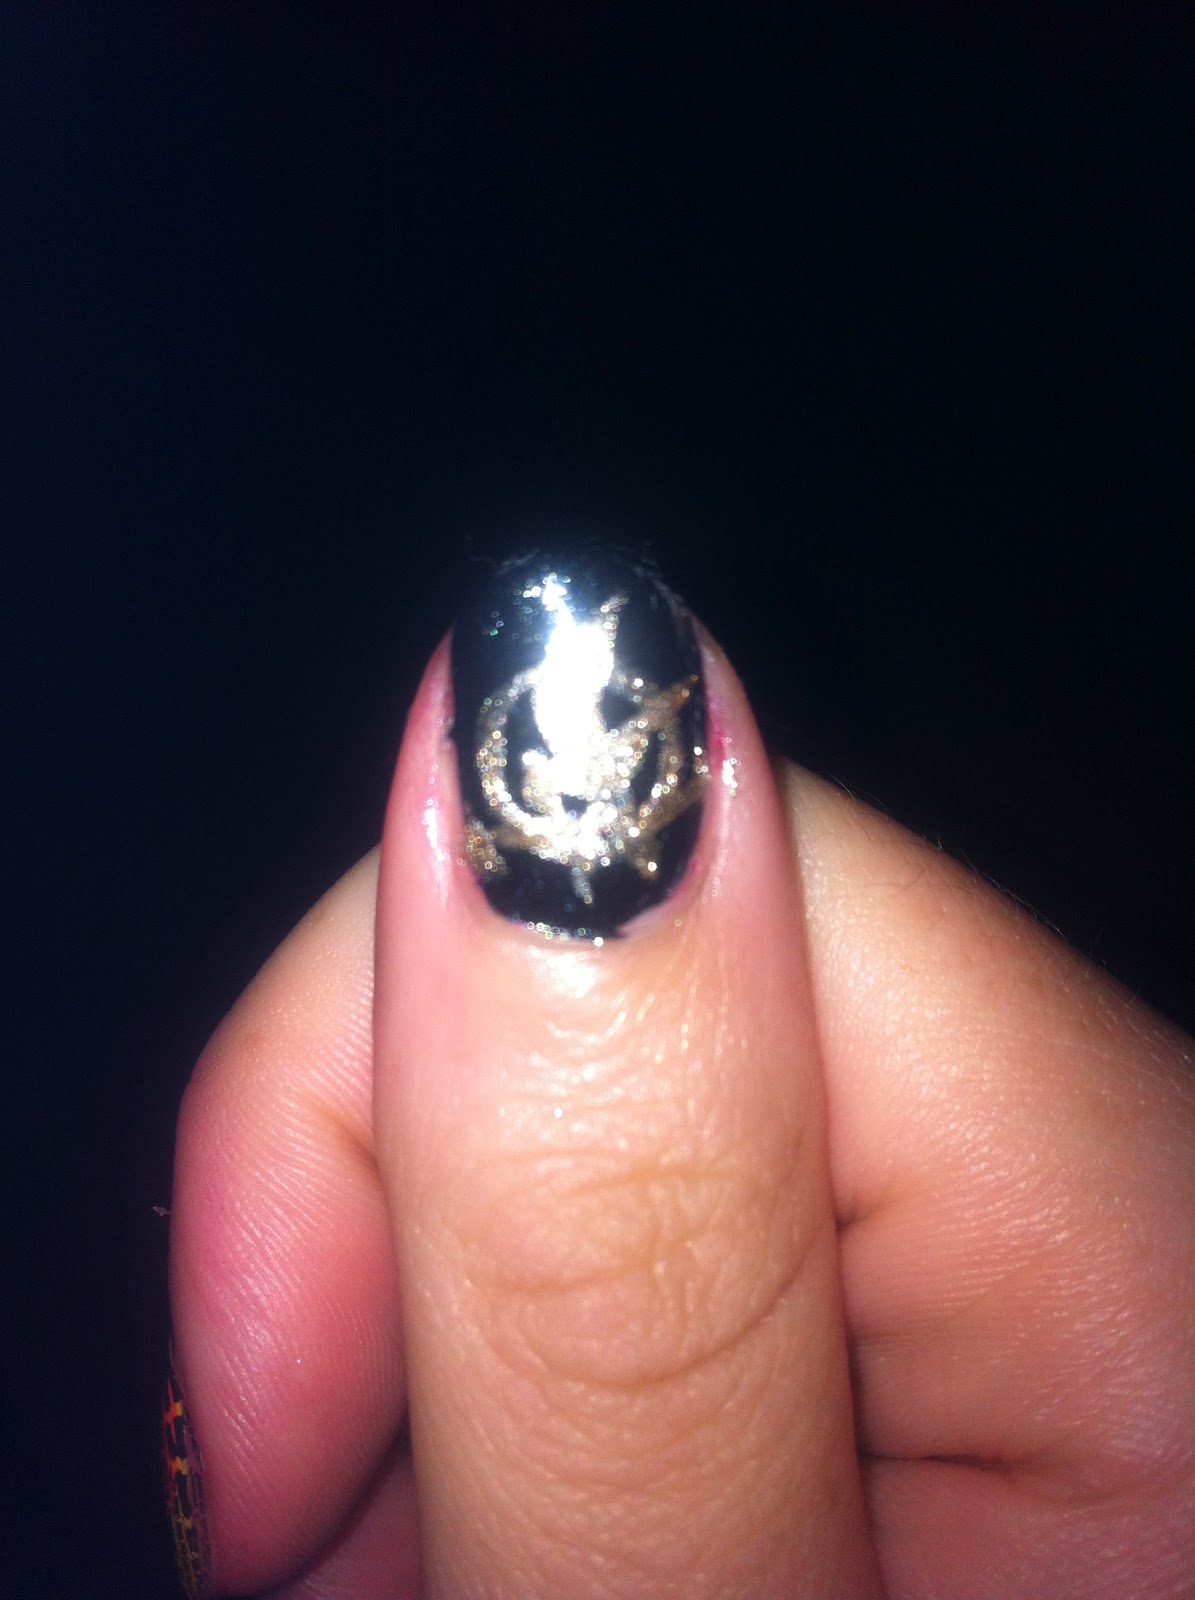
I'm not sure how well these will come across but it took FOREVER to get this thumb part right, a lot of layering so i didn't smudge any other lines and making sure the lines stood out enough.

It took a little while but i was so pleased when i was done.
I think from now on whenever a new film is coming out I will have to do an inspired nail design as I really enjoyed having something to imitate.

What do you think? Do you like my Hunger Games nails??
I had so many other ideas for this one that i may have to do another :)
I loved the books though i wish they hadn't ended as I read them far too quickly
L xxx
I absolutely love L's nails, when she sent me the photo I was so impressed. I also have to add the books are amazing. I read them so quick and I'm disapointed they are over so much so I think I will re read them.
For my film inspired nails I kind of cheated. I picked a film I've not actually seen as I wanted to do these nails. I picked Breakfast At Tiffany's. Since I picked up my mint green nail varnish I've been wanting to try these nails.
I love how iconic the Tiffany box is and it's just so cute!! I did originally try to hand draw the bows but with my dotting tool I couldn't get it to work. When routing through my nail varnish bag I found some little bows I ordered from eBay I forgot about and they just worked perfectly.

I painted all my nails with Rimmel I love lasting finish in shade Pear Drop 703. I picked up two of these the other day as they were on offer but I've found both of them leave nails very streaky and need 3 coats to get a decent finish. Overall I've just not liked using them at all. It's a shame as they are such pretty colours just a pain to apply.

Pear drop is a shimmery metal mint green. It's a very pretty shade on the nails and does look nice if you take the time to apply thin coats and let them dry in between.

I then used my trusty OPI Apline White to draw crosses on my nails. On the ring finger I put the horizontal cross further up the nail so it was off centre and I prefer this look but my thumb nail was too short to do this.
.jpg)
My nails are a state at the moment as you may have seen me mention in my last post for some reason I'm back biting them at the moment and it's really annoying me that I am.

For the little bows I used plastic ones I picked up from ebay cheap. They come in a variety of colours and I just apply a layer of top coat and then place them on the nail. They are cute and make nail art really simple.
Hope you've enjoyed our nail posts over the last three weeks. I know we've both enjoyed doing lots of nail art.
Love M
xxx
Hope you've enjoyed our nail posts over the last three weeks. I know we've both enjoyed doing lots of nail art.
Love M
xxx


